The WhatsApp Business Channel allows businesses to communicate with customers through WhatsApp while managing conversations directly from WowChat.
By connecting your WhatsApp Business account to WowChat, you can handle customer conversations alongside other communication channels from a single Unified Inbox. This helps teams respond faster, collaborate efficiently, and deliver a seamless customer experience.
This guide explains how to connect and manage your WhatsApp Business Channel within WowChat.
What is the WhatsApp Business Channel?
The WhatsApp Business Channel enables organizations to send and receive WhatsApp messages through WowChat.
Once connected, all WhatsApp conversations can be managed from a centralized workspace, allowing teams to collaborate without switching between multiple applications.
The WhatsApp Business Channel helps businesses:
- Manage customer conversations from a single platform
- Improve response times
- Enable multi-user access
- Maintain conversation history
- Support team collaboration
- Scale customer communication
Before You Begin
Before connecting your WhatsApp Business Channel, ensure you have:
- A Meta Business Account
- A WhatsApp Business Account
- A valid phone number for WhatsApp Business
- Administrative access to Meta Business Manager
- Permission to manage WhatsApp assets
Connecting the WhatsApp Business Channel
Follow these steps to connect your WhatsApp Business Channel to WowChat.
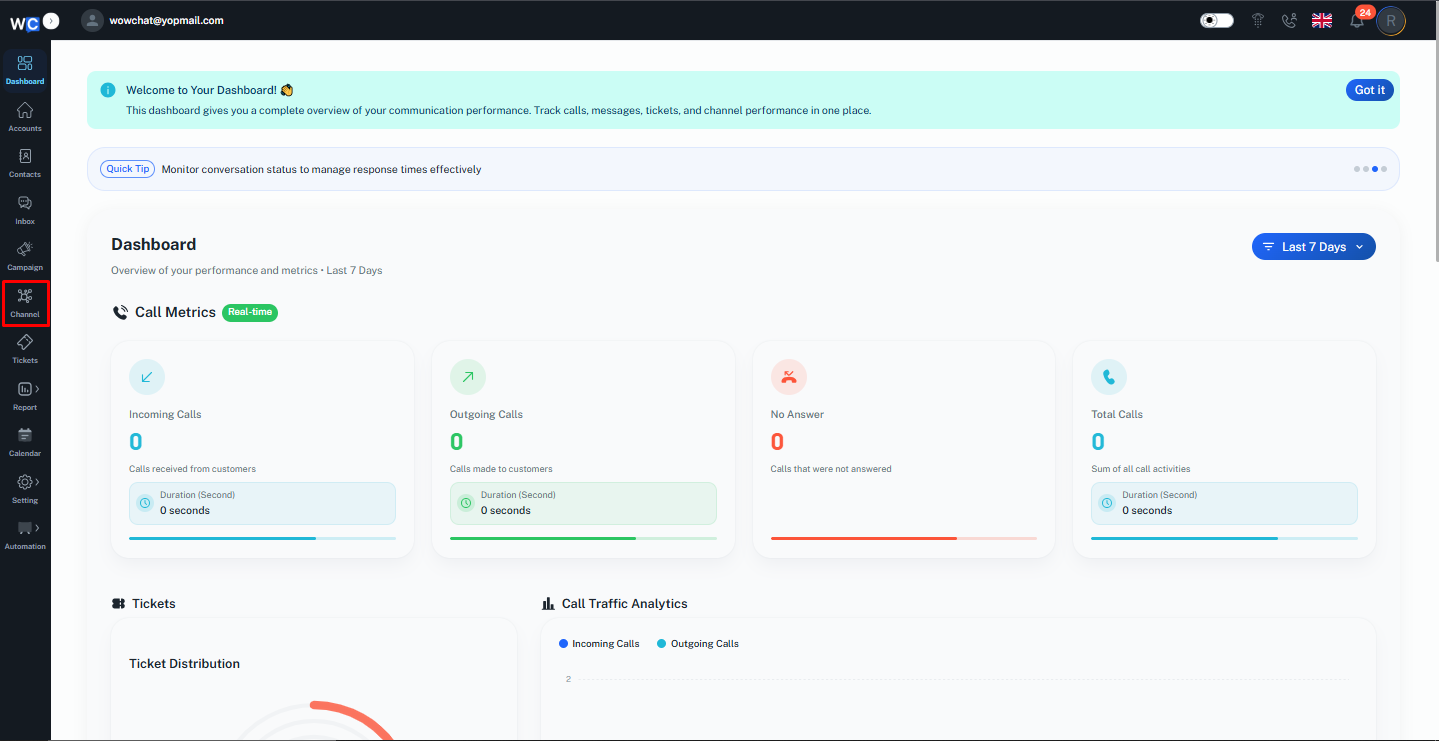
Step 1: Open Channels
After successfully logging in to your WowChat account, click on the Channels option from the left-hand navigation menu.
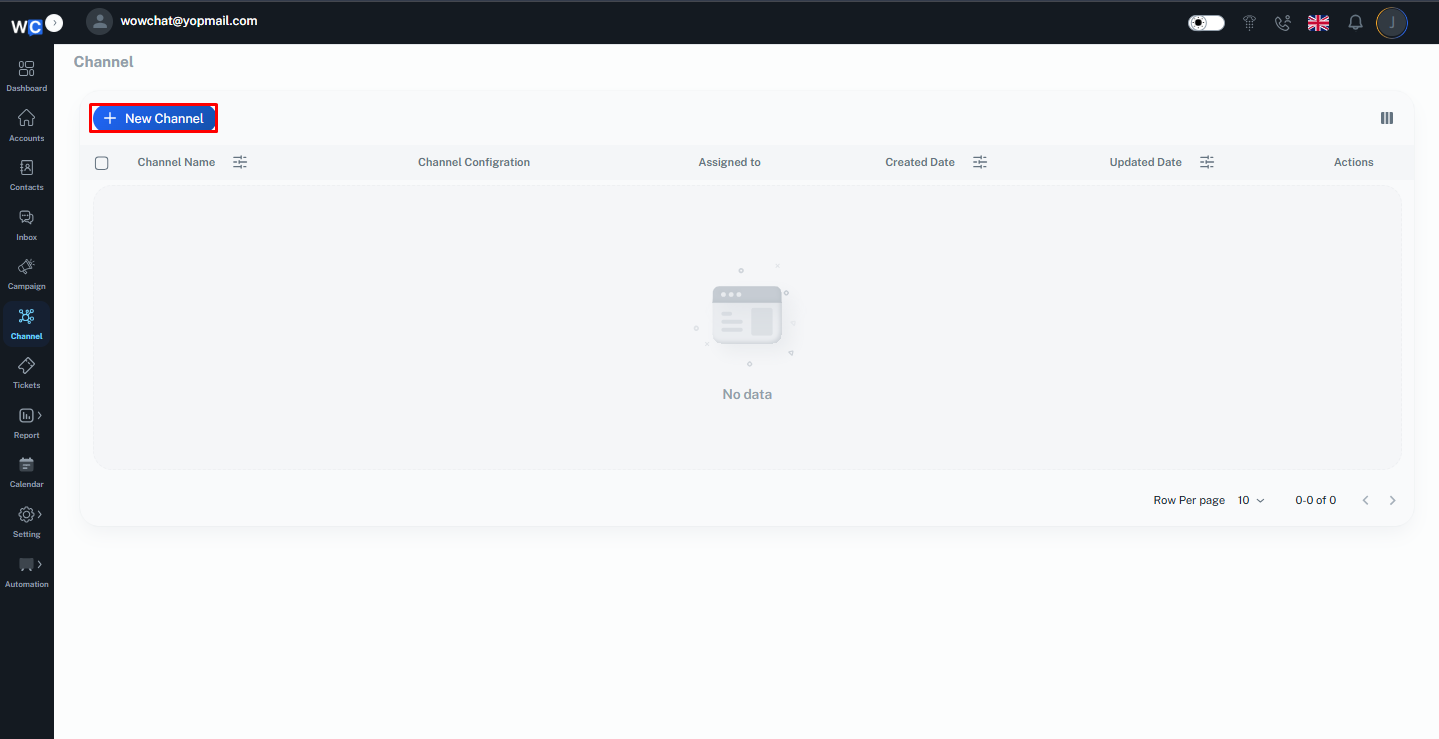
Step 2: Create a New Channel
Click the New Channel button to begin creating a new communication channel.
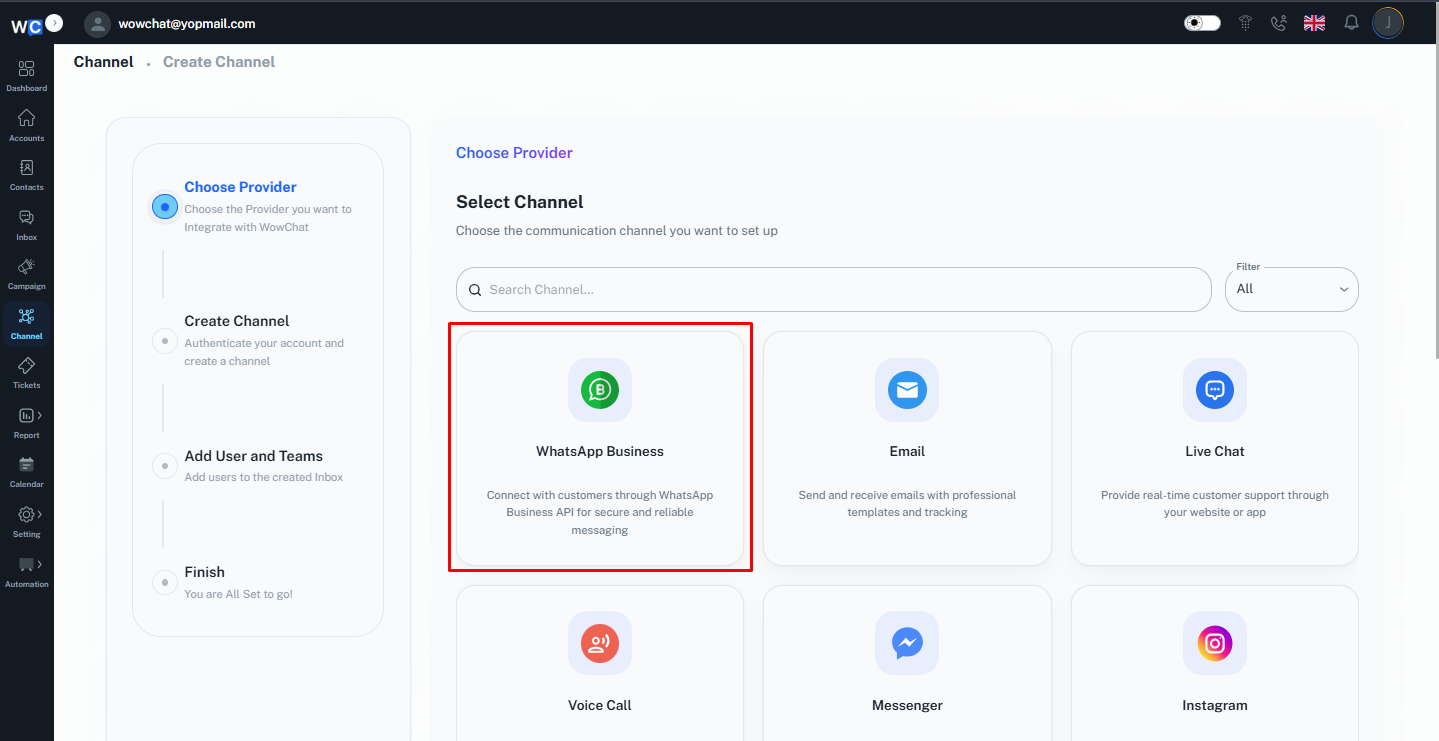
Step 3: Select WhatsApp Business
From the list of available channel types, select WhatsApp Business.
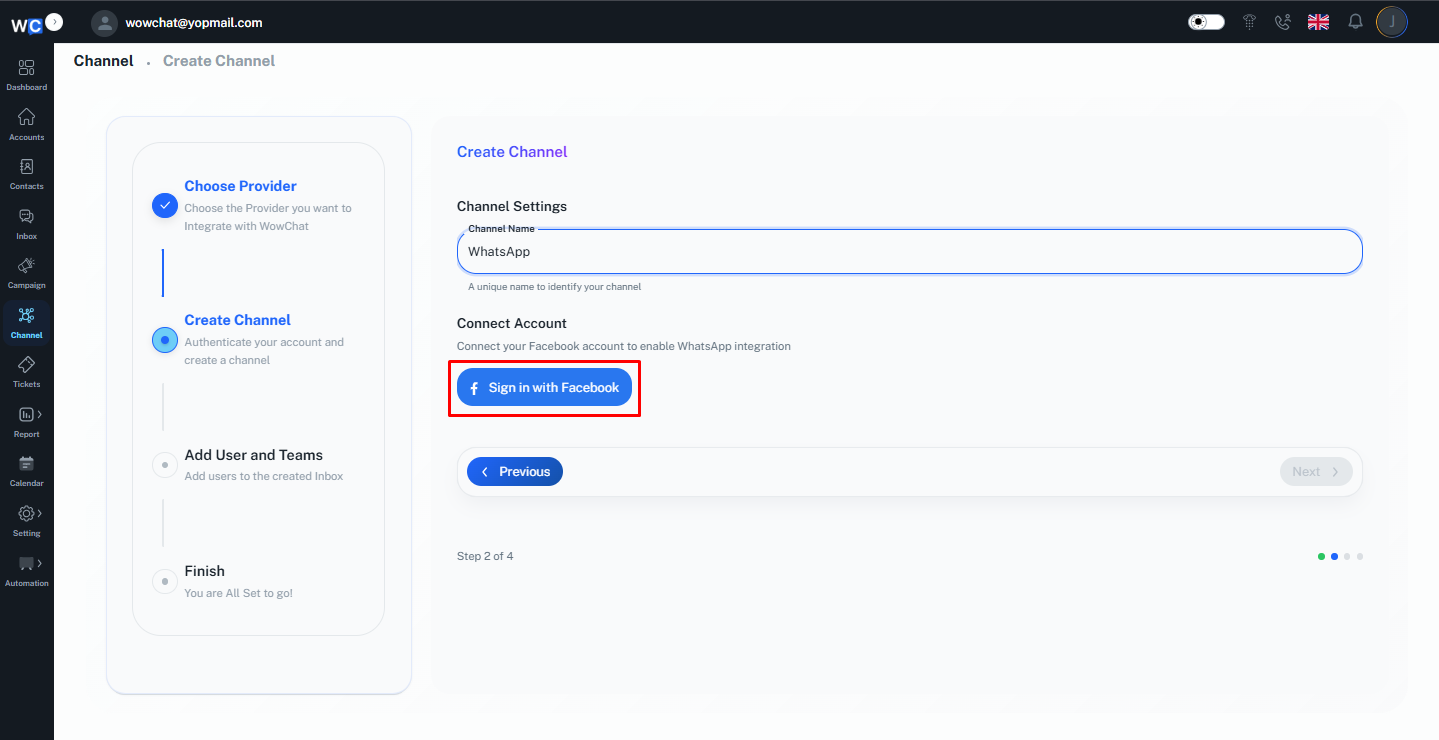
Step 4: Enter Channel Name
Provide a unique Channel Name for your WhatsApp Business Channel.This name will help identify the channel within your workspace.
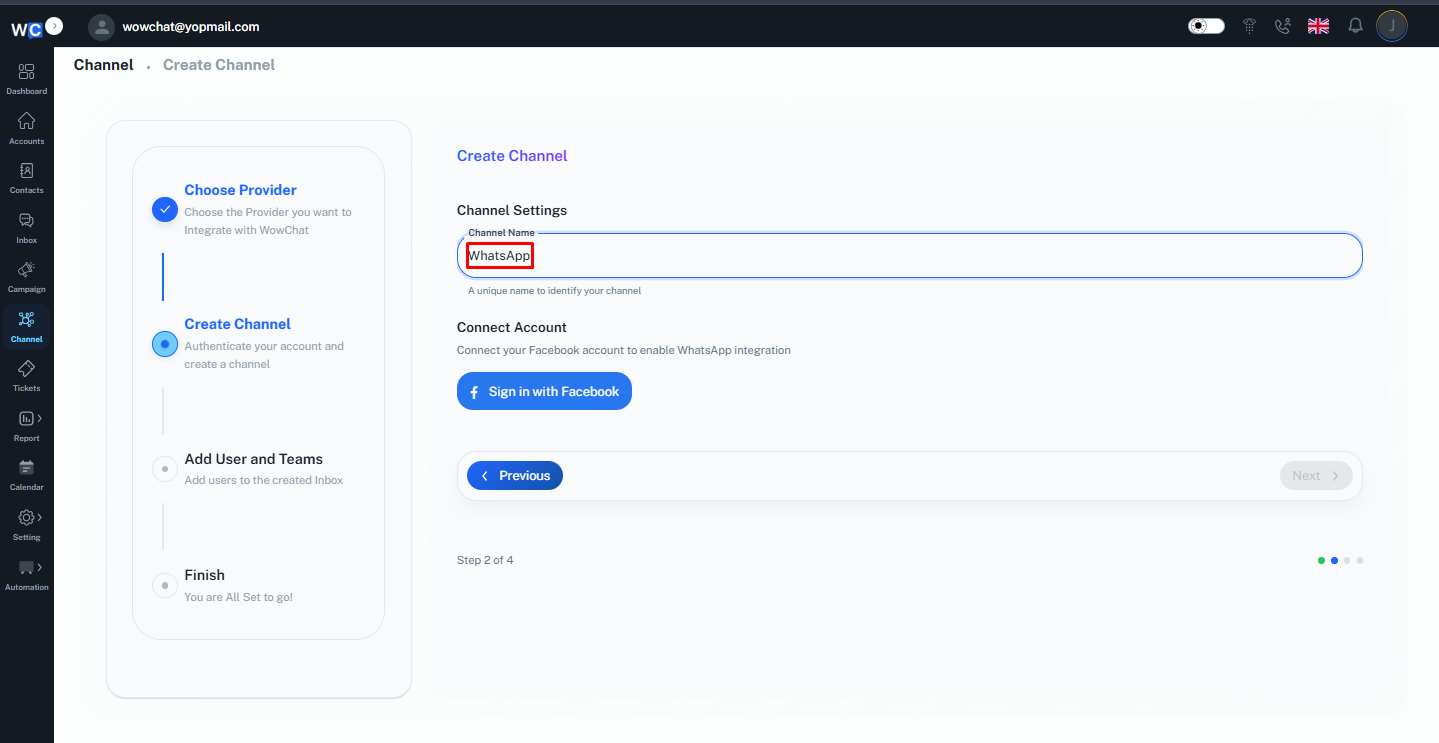
Step 5: Sign In with Facebook
Click the Sign in with Facebook button to begin the Meta authorization process.
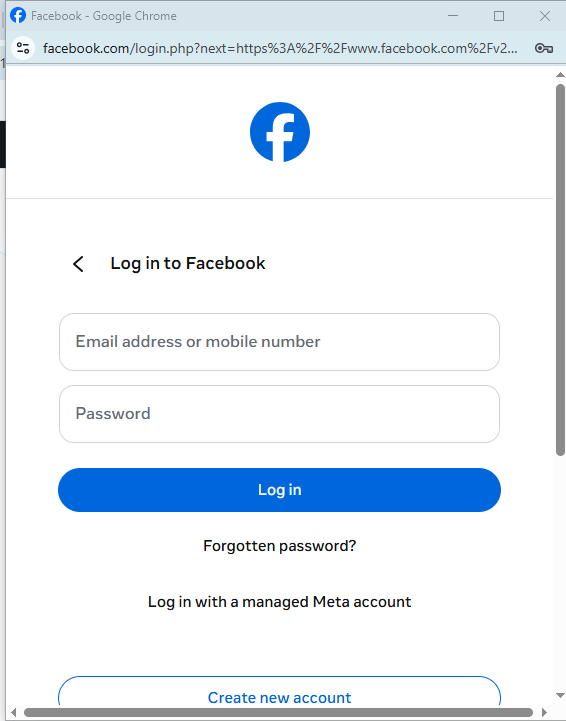
Step 6: Log In to Your Meta Account
A Meta authorization pop-up window will open.Sign in using your Meta Business account credentials.Enter:- Email Address or Mobile Number- PasswordThen click the Log In button.
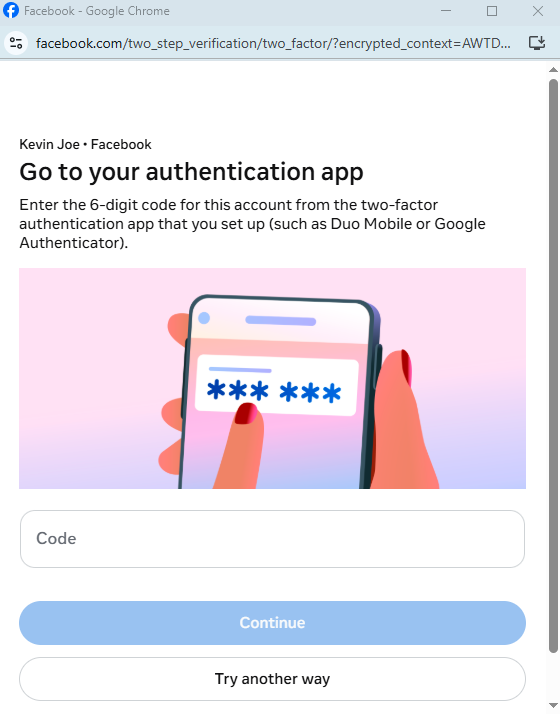
Step 7: Complete Two-Factor Authentication (If Enabled)
If Two-Factor Authentication (2FA) is enabled on your Meta account, enter the authentication code and click Continue.
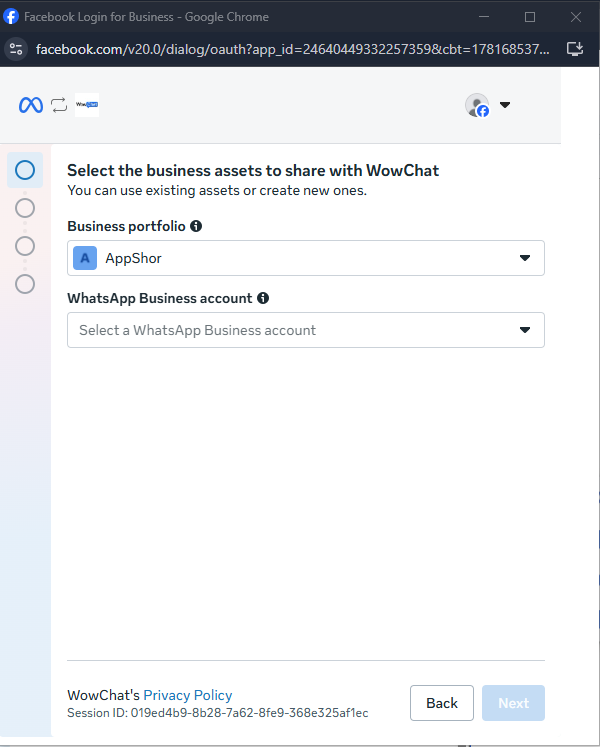
Step 8: Select Your Business Portfolio
Choose the Business Portfolio that contains the WhatsApp assets you want to connect.

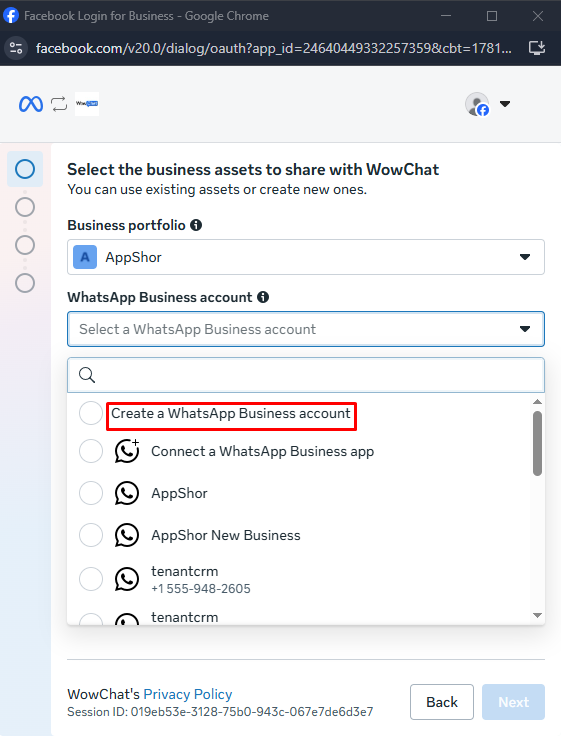
Step 9: Select Your WhatsApp Business Account
Select the WhatsApp Business Account that you want to connect to WowChat.
Step 10: Create a WhatsApp Business Account (If Required)
If you do not already have a WhatsApp Business Account, select the Create a WhatsApp Business Account option and click the Next button.
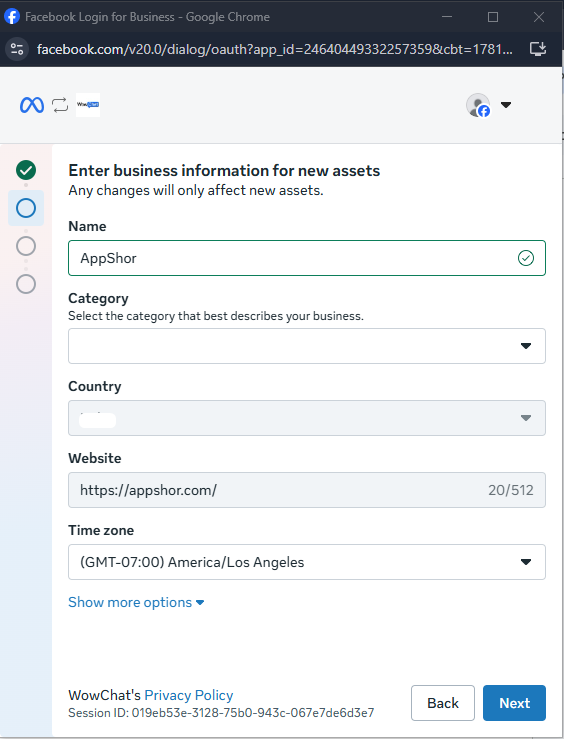
Step 11: Enter Business Information
Provide the required business details:- WhatsApp Business Account Name- Business Category- Website URL- Time ZoneAfter entering the required information, click the Next button.
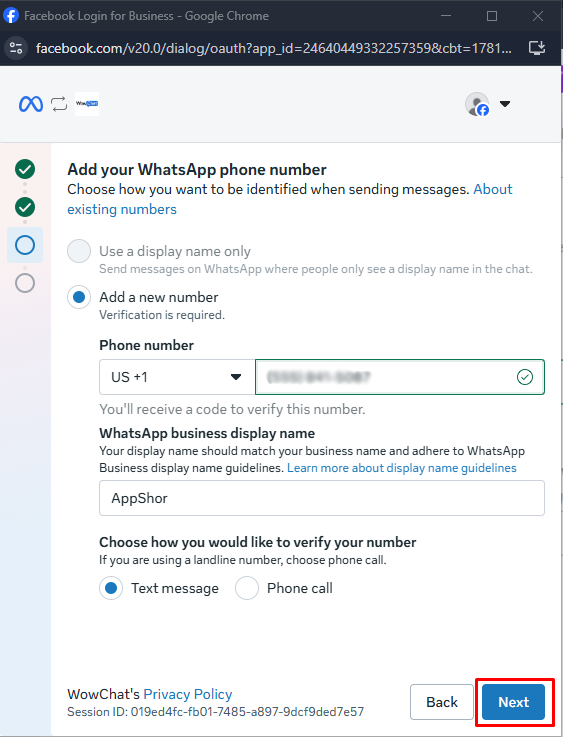
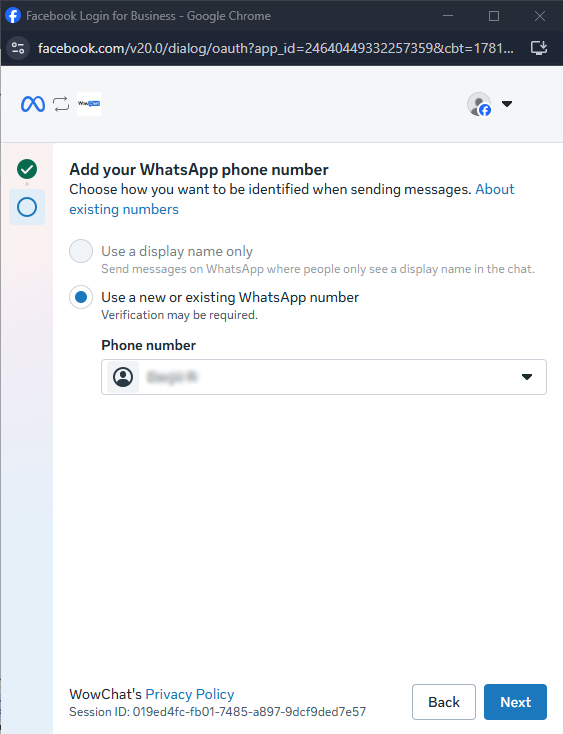
Step 12: Add a Phone Number
Select the Add a New Number option.Provide the following details:- Country- Phone NumberChoose how you would like to verify your phone number:- Text Message (SMS)- Phone CallClick the Next button to continue.
Step 13: Verify Your Phone Number
Enter the verification code received through SMS or Phone Call and complete the verification process.
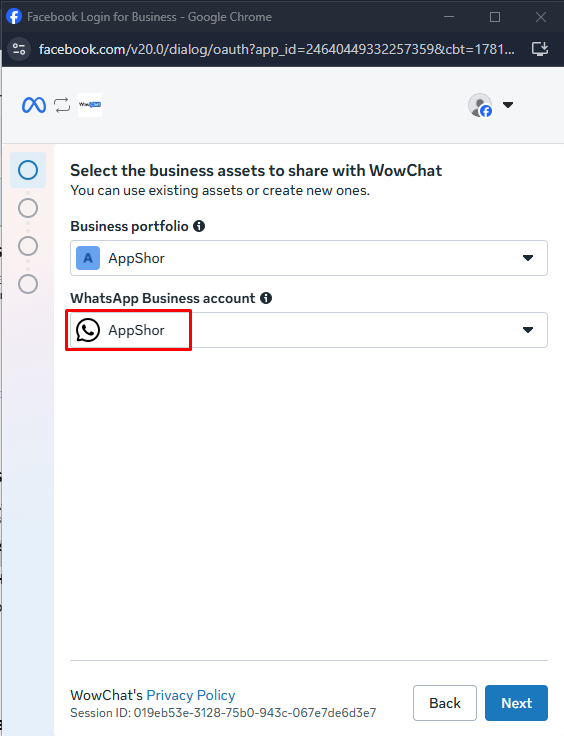
Step 14: Select Your WhatsApp Business Account
After the WhatsApp Business Account has been created successfully, select the WhatsApp Business Account that you want to connect to WowChat.
Step 15: Select Your Phone Number
If your number is configured as a Coexistence account, select Connect WhatsApp Business App.Otherwise, select the WhatsApp Business phone number associated with your WhatsApp Business Account.
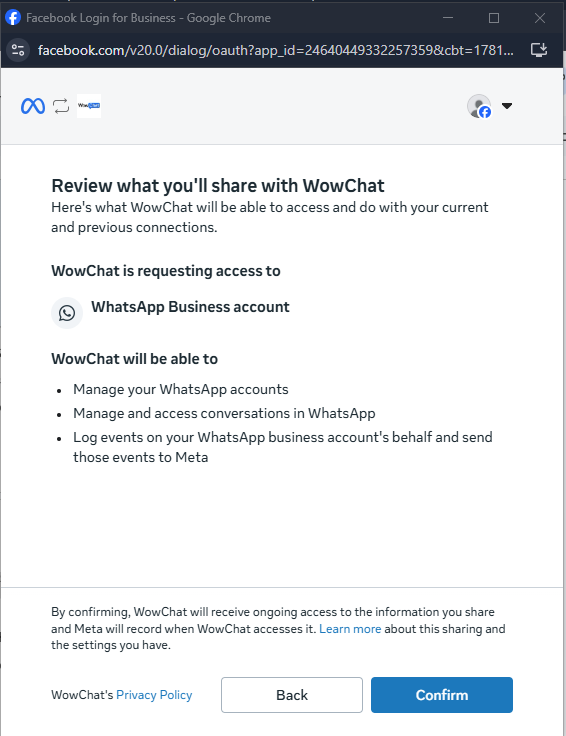
Step 16: Complete Meta Setup
Click Next and follow the remaining prompts to complete the Meta authorization process.Once completed successfully, your WhatsApp Business Account will be connected to WowChat.
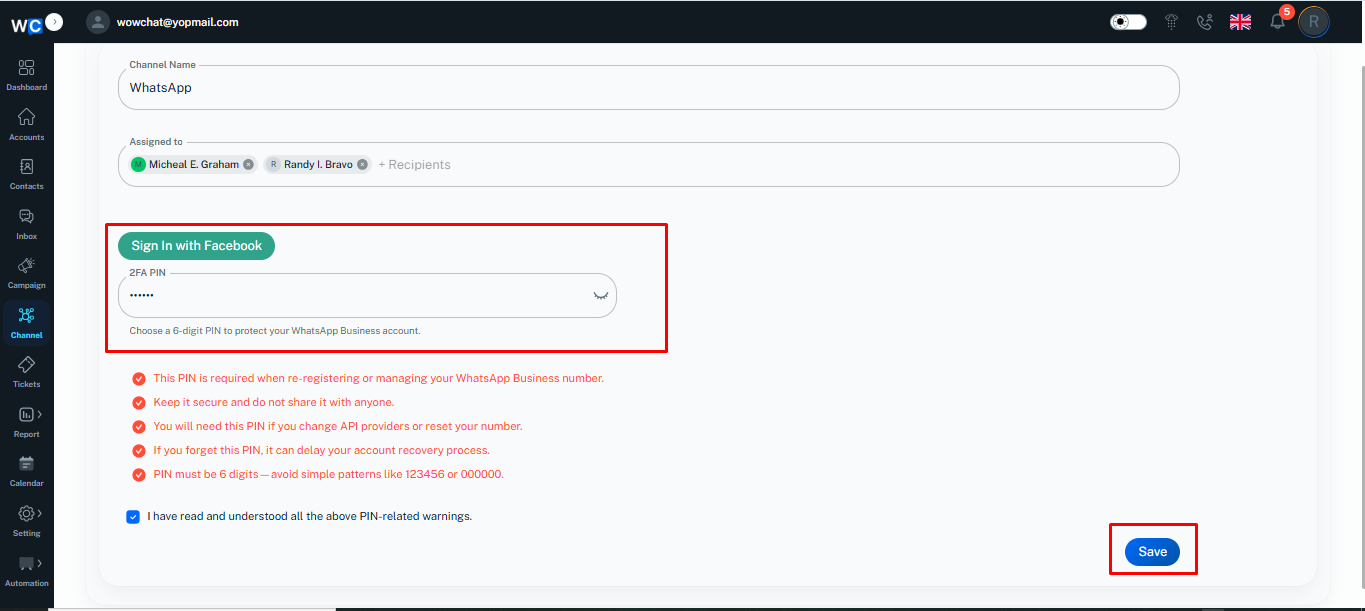
Step 17: Assign Users and Enter your 2FA PIN
Select the user or users who should have access to manage conversations for this channel. Enter your 2FA PIN and click on the Next button.
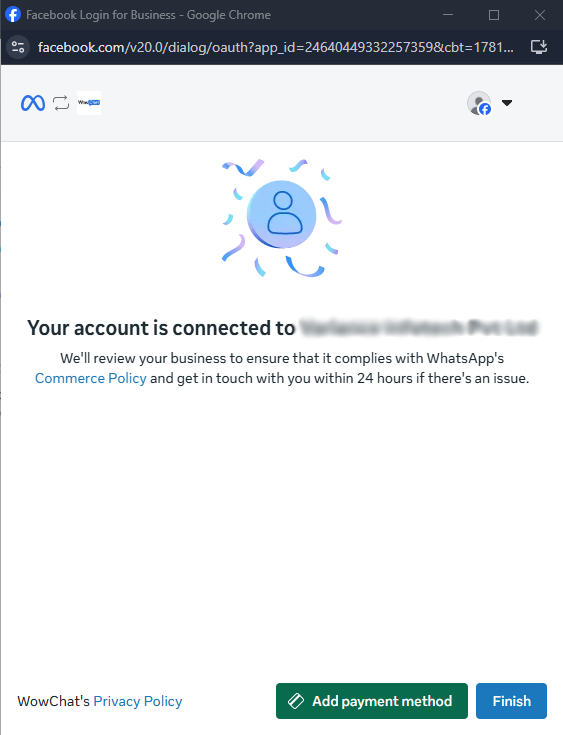
Step 18: Finish Setup
Click the Finish button to complete the channel setup.
Step 19: Channel Connected Successfully
Your WhatsApp Business Channel has now been connected successfully.The channel will appear in the Channels listing page and will be ready to send and receive WhatsApp messages through WowChat.
How WhatsApp Conversations Work
Once connected:
- Customers send messages through WhatsApp.
- Messages automatically appear in the WowChat Inbox.
- Team members can respond directly from WowChat.
- Conversations can be assigned to users or teams.
- Customer history remains available for future interactions.
Benefits of Using the WhatsApp Business Channel
- Centralized conversation management
- Faster customer response times
- Improved team collaboration
- Reduced missed messages
- Complete conversation history
- Better customer experience
Frequently Asked Questions (FAQ)
The WhatsApp Business Channel allows businesses to send and receive WhatsApp messages through WowChat.