With Facebook Messenger connected, your team can respond to customer inquiries, manage conversations collaboratively, and maintain a complete communication history from a single platform. This guide explains how to connect your Facebook Messenger channel to WowChat.
Why Connect Facebook Messenger?
Connecting Facebook Messenger to WowChat helps your organization:
- Manage Messenger conversations from a centralized inbox
- Respond to customers faster
- Improve team collaboration
- Reduce missed messages
- Maintain conversation history
- Deliver a consistent customer experience
Instead of switching between multiple platforms, your team can manage all customer interactions from one workspace.
Before You Begin
Before connecting Facebook Messenger, ensure you have:
- Access to your WowChat workspace
- A Meta (Facebook) account
- Administrative access to the Facebook Page you want to connect
- Permission to manage Messenger conversations
- Access to Meta Business settings (if applicable)
Connecting Facebook Messenger
Follow these steps to connect your Facebook Messenger channel.
Open Channels
After successfully logging in to your WowChat account, click on the Channels option from the left-hand navigation menu.
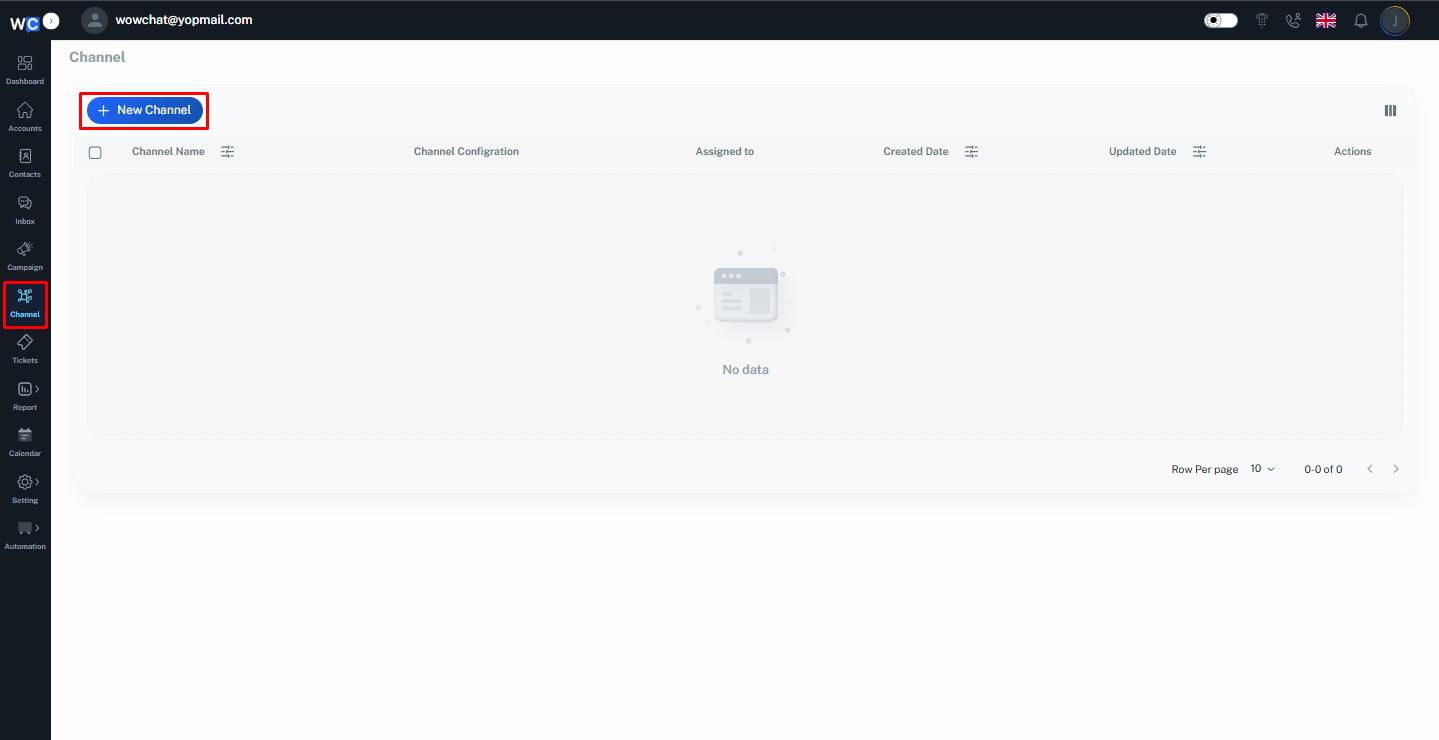
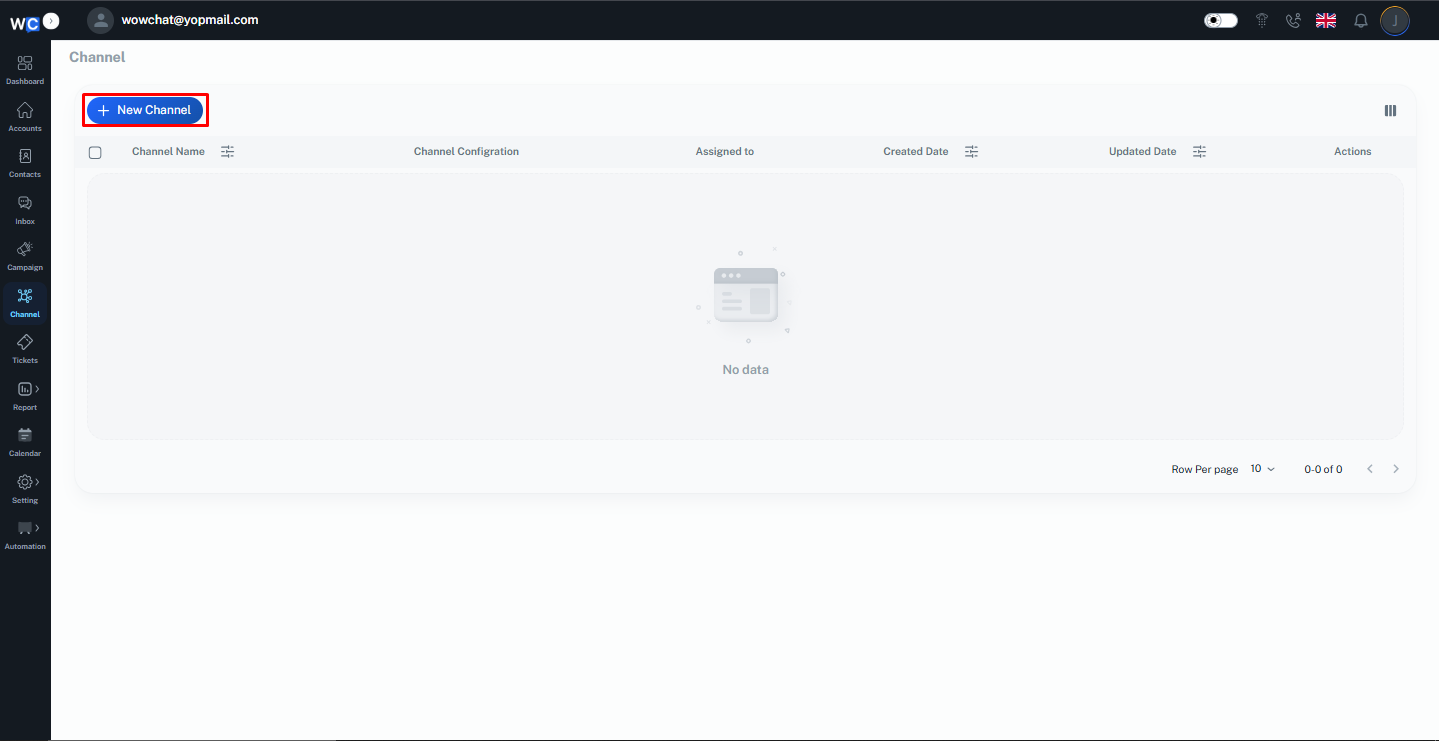
Create a New Channel
Click the New Channel button to begin creating a new communication channel.
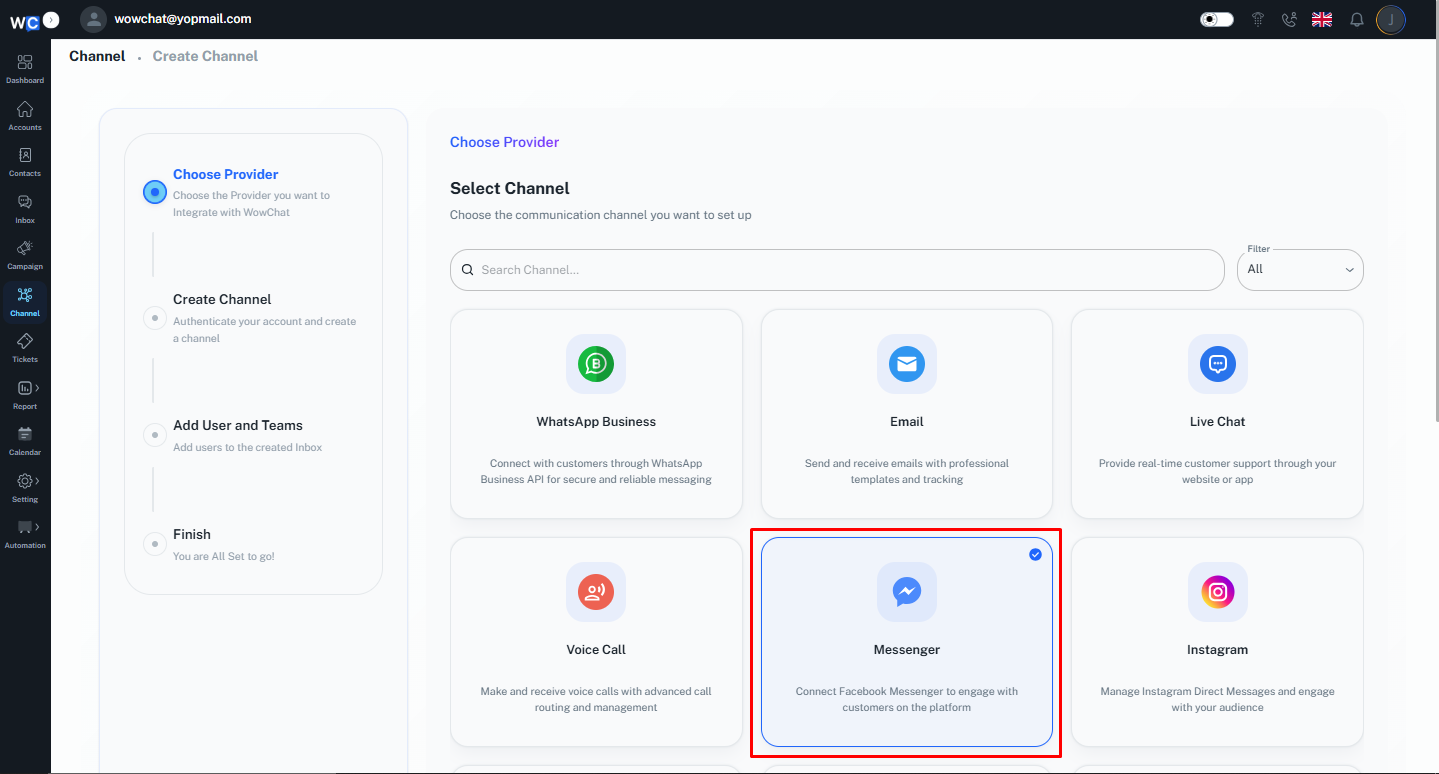
Select Facebook Messenger
From the available channel types, select Facebook Messenger.
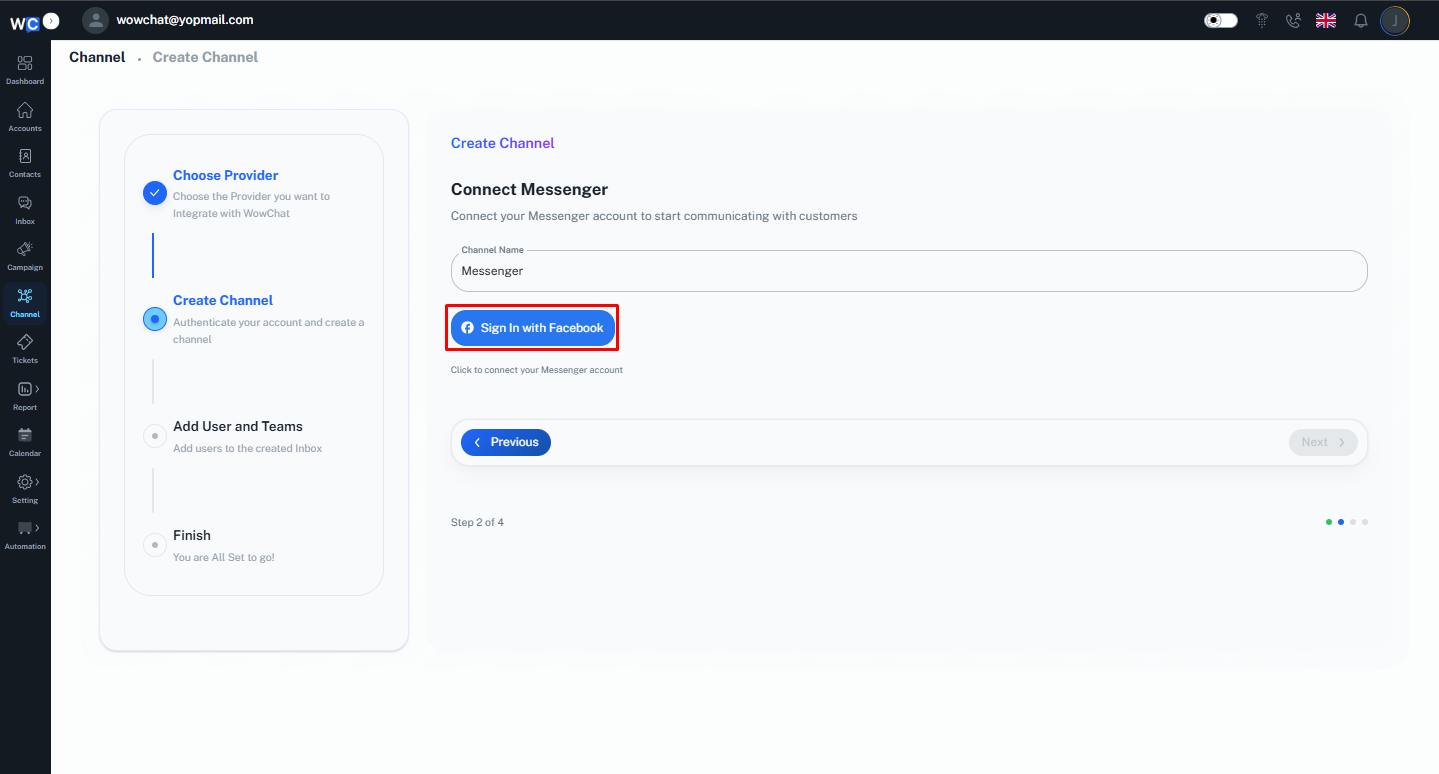
Enter Channel Name
Provide a unique Channel Name for the Facebook Messenger channel. This name will help identify the channel within your workspace.
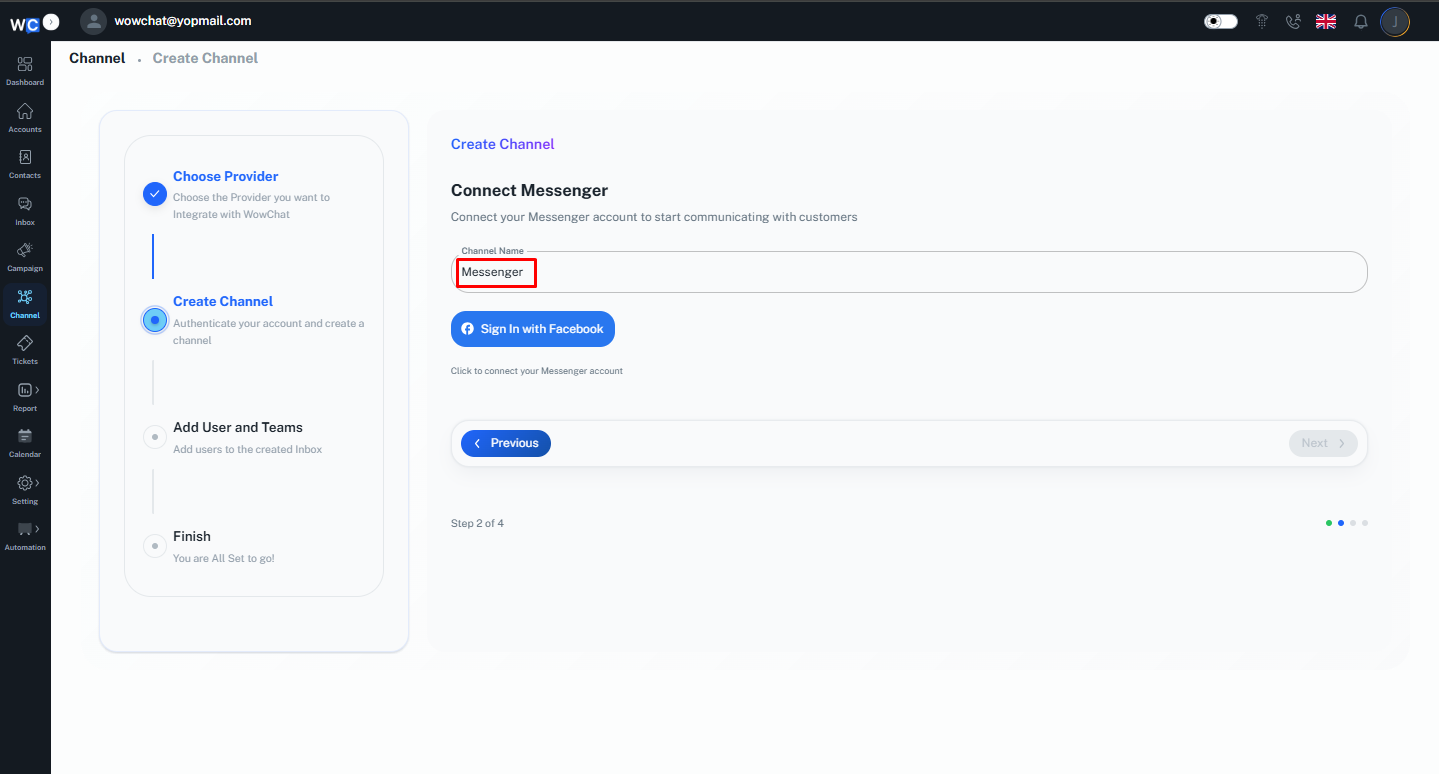
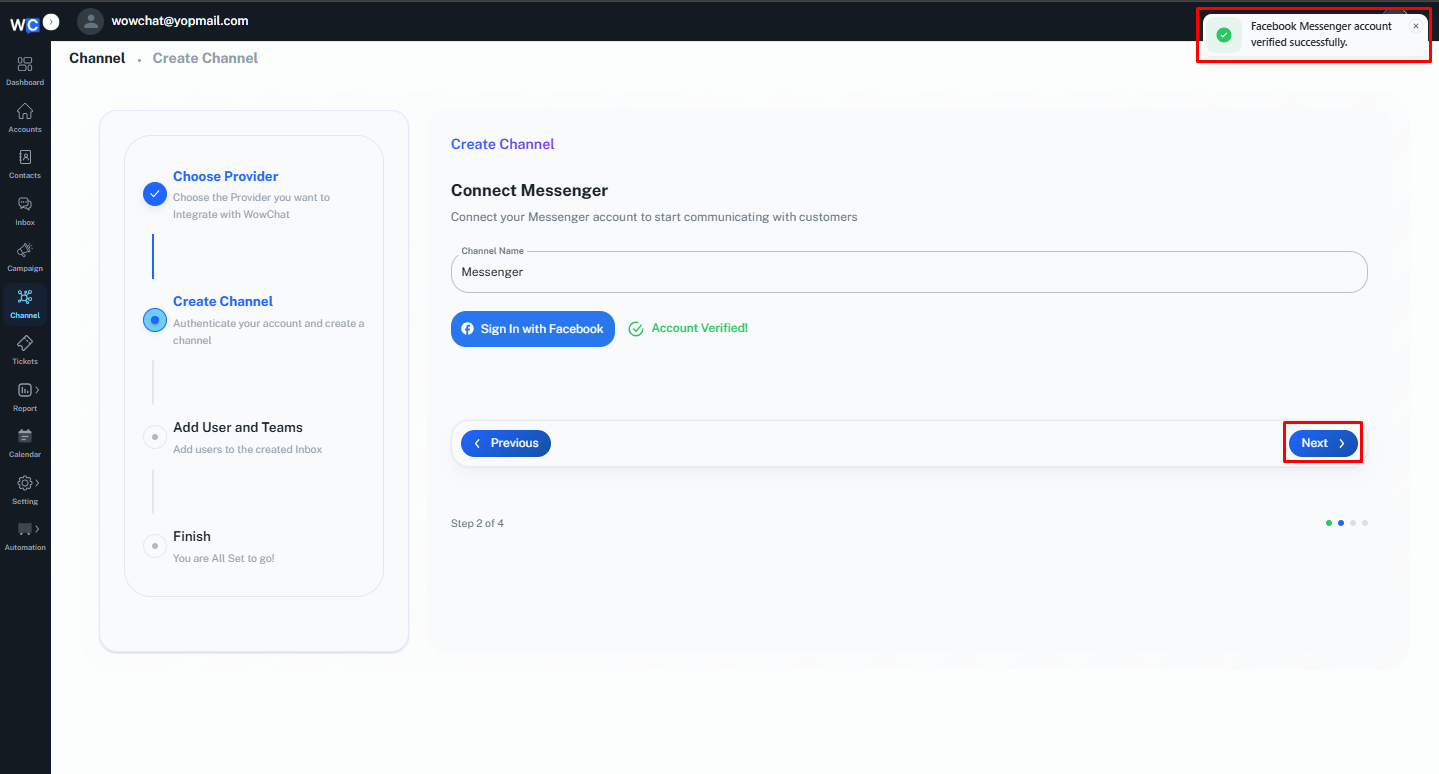
Sign In with Facebook
Click the Sign in with Facebook button to begin the authorization process.
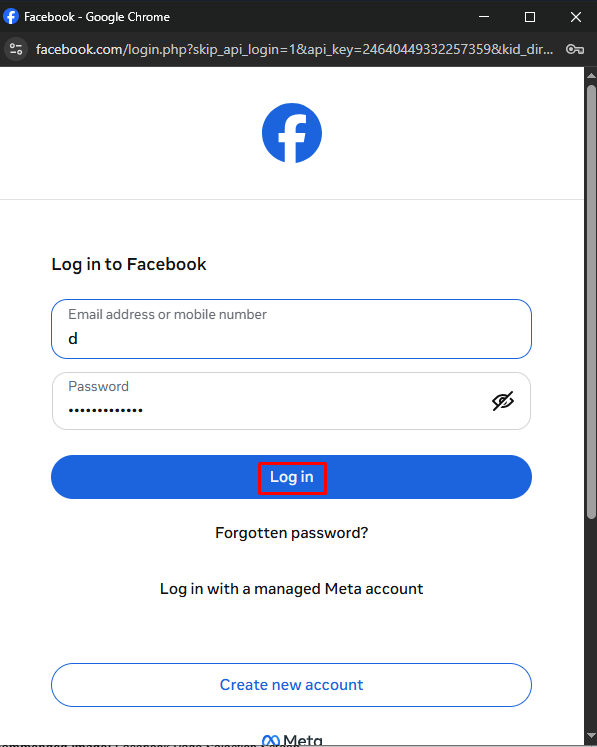
Log In to Your Facebook Account
A Meta authorization window will open.Enter your Facebook account credentials:• Email Address or Mobile Number• PasswordClick the Log In button to continue.
Select Current Pages
Select the Opt in to current Pages only option.
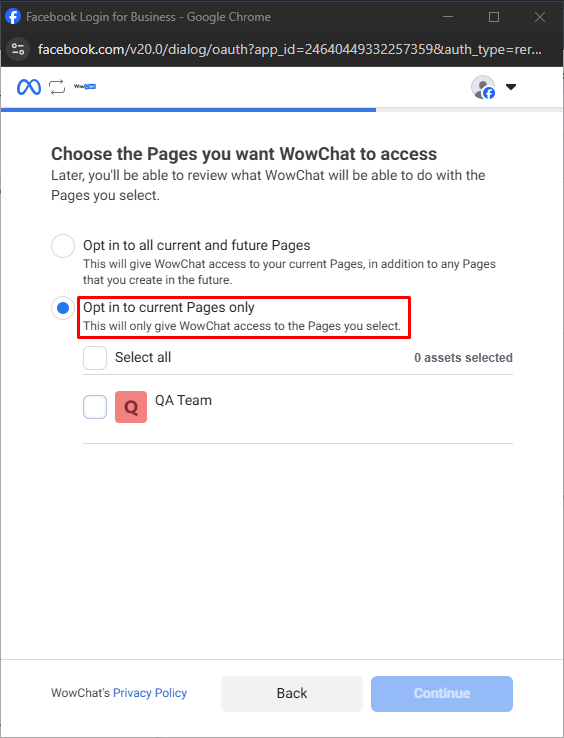
Select Your Facebook Page
Select the Facebook Page that you want to configure and click the Continue button.

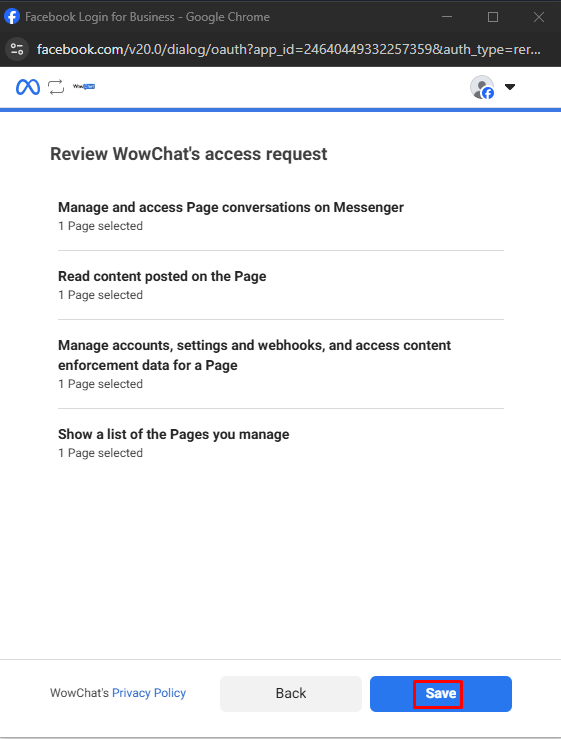
Save the Configuration
Review the selected settings and click the Save button.
Complete Meta Authorization
After clicking the Save button, the Meta pop-up will display a confirmation message indicating that the account has been connected successfully.Click the Got It button.

Return to WowChat
You will be redirected back to WowChat. Click the Next button to continue.
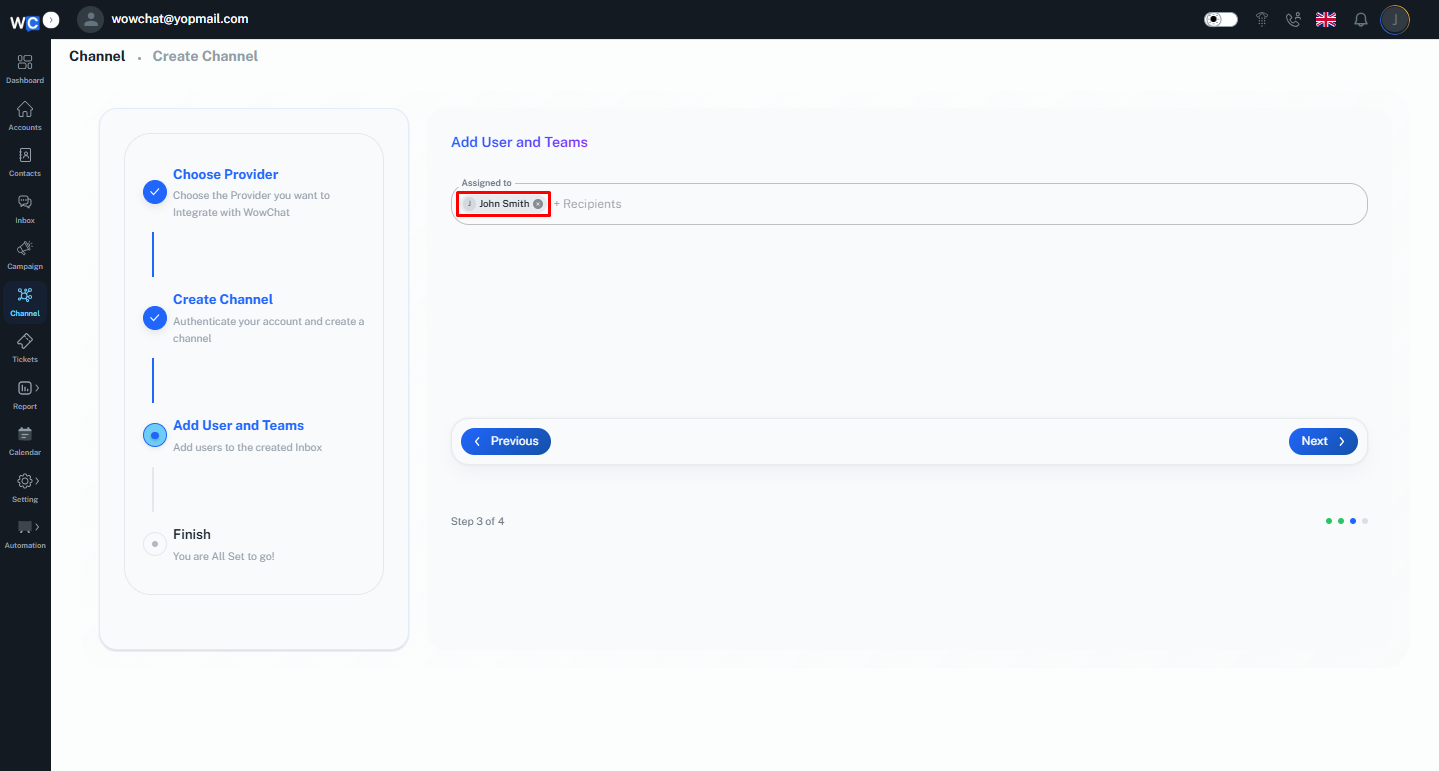
Assign Users
Select the user or users that you want to assign this channel to.
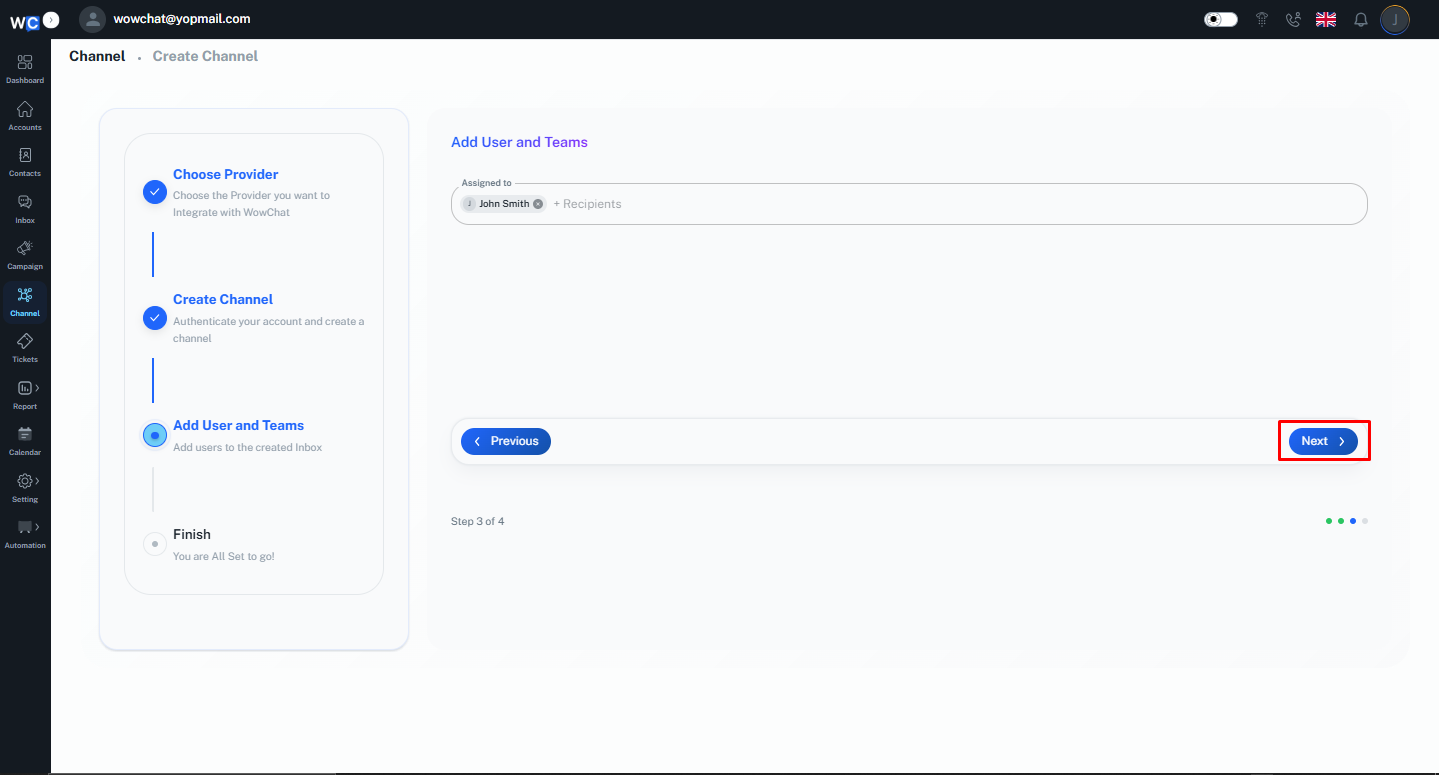
Click Next
After selecting the user(s), click the Next button.
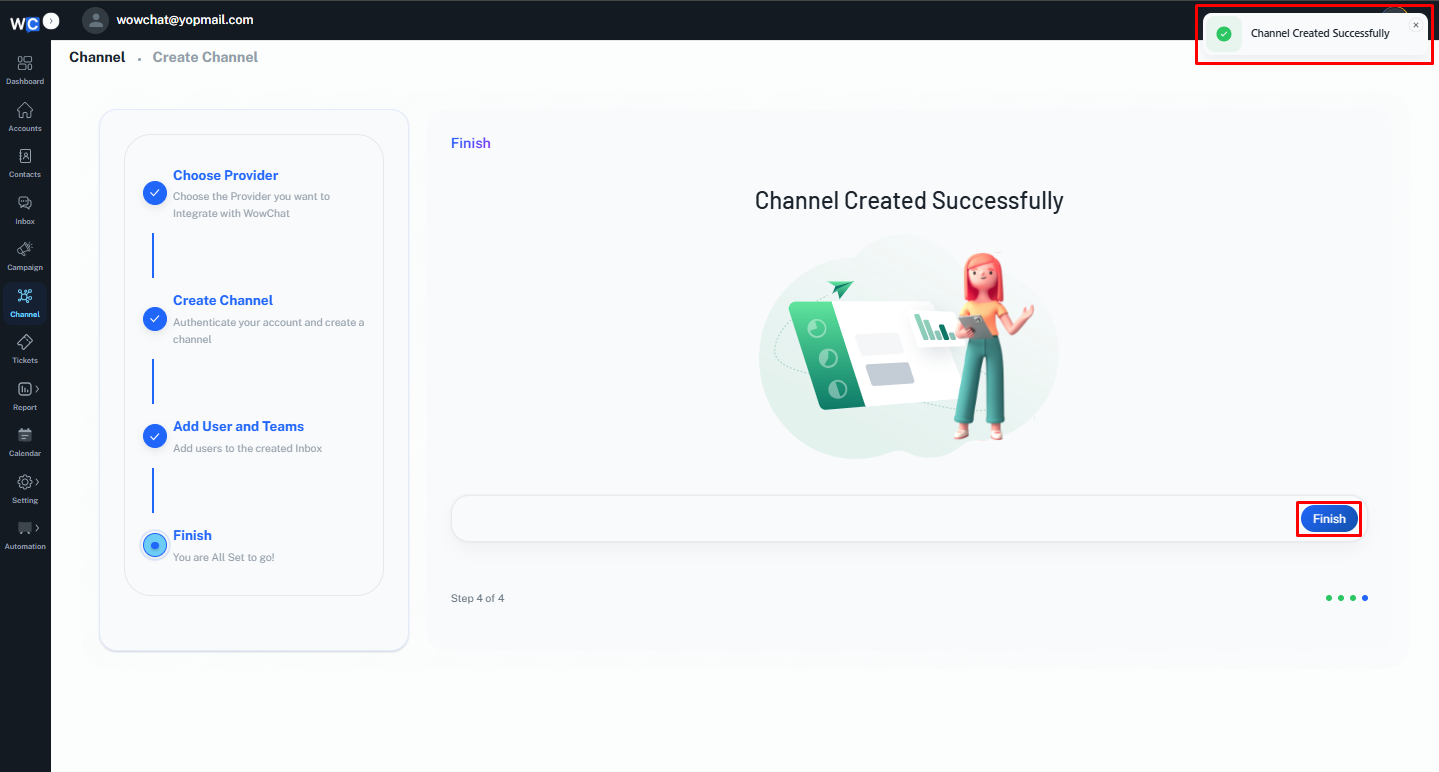
Channel Created Successfully
Your Messenger channel has been created successfully. Click the Finish button to complete the setup process.
How Facebook Messenger Conversations Work
Once connected:
- Customers send messages through Facebook Messenger.
- Messages automatically appear in the WowChat Unified Inbox.
- Team members can respond directly from WowChat.
- Conversations can be assigned to users or teams.
- Customer conversation history remains available for future reference.
This helps your team manage customer communication more efficiently.
Benefits of Facebook Messenger Connection
Connecting Facebook Messenger to WowChat allows you to:
- Centralize Messenger conversations
- Improve customer response times
- Enable team collaboration
- Reduce missed customer inquiries
- Maintain complete conversation history
- Manage multiple communication channels from one platform
Frequently Asked Questions (FAQ)
Facebook Messenger Connection allows you to connect your Facebook Page and manage Messenger conversations directly within WowChat.