The Live Chat Widget allows visitors on your website to connect with your team in real time. By adding the WowChat Live Chat Widget to your website, you can engage with customers instantly, answer questions, provide support, and generate new business opportunities.
All conversations initiated through the Live Chat Widget are automatically routed to the WowChat Unified Inbox, allowing your team to manage website chats alongside WhatsApp, Email, Instagram, Facebook Messenger, and other connected communication channels.
This guide explains how to create, configure, and install the Live Chat Widget for your website.
Why Use the Live Chat Widget?
Adding a Live Chat Widget to your website helps your business:
- Provide real-time customer support
- Increase customer engagement
- Capture leads and inquiries
- Improve response times
- Reduce customer frustration
- Manage website conversations from a centralized inbox
Whether visitors need assistance, have product questions, or want to contact your team, Live Chat makes communication fast and convenient.
Before You Begin
Before setting up the Live Chat Widget, ensure you have:
- Access to your WowChat workspace
- Permission to manage channels
- Access to your website's source code or CMS
- A website where the widget will be installed
Setting Up the Live Chat Channel
Follow these steps to create and configure your Live Chat Widget.
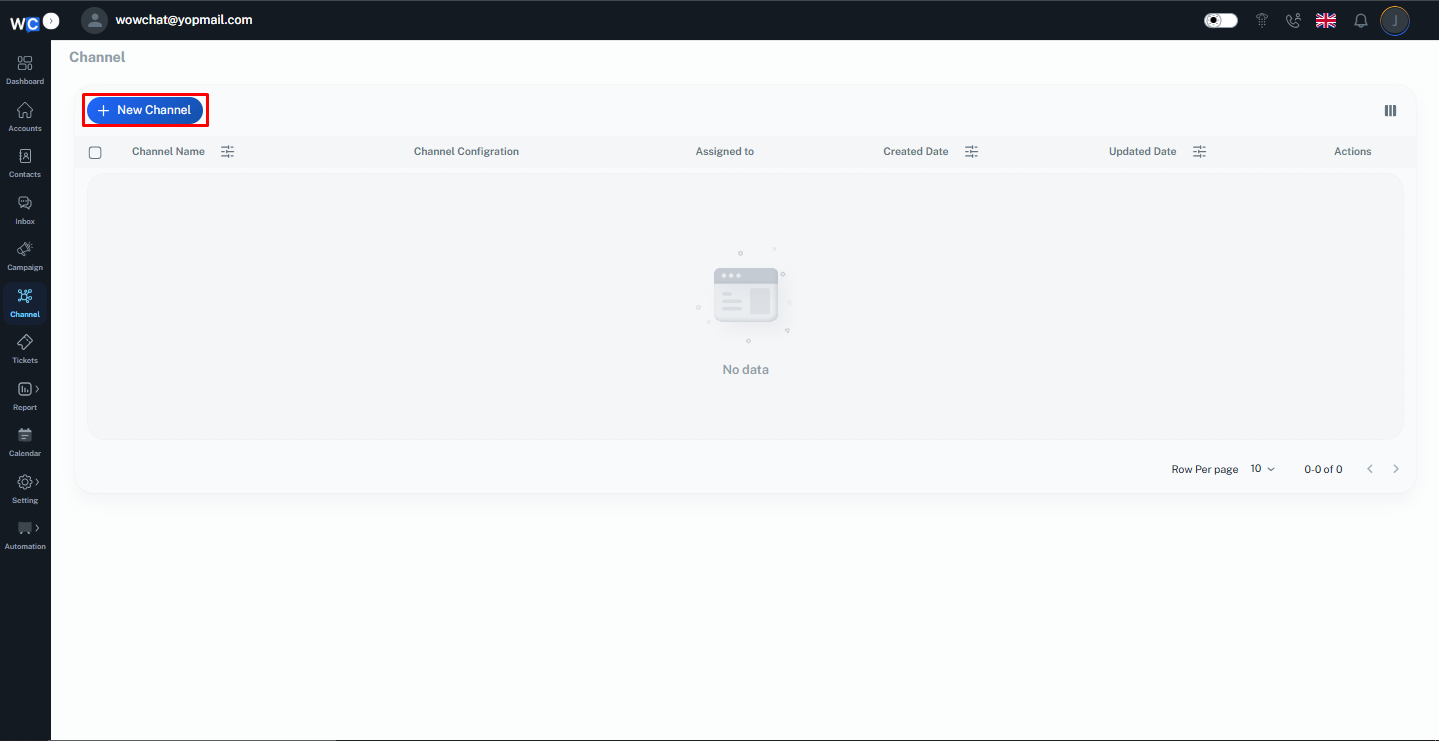
Step 1: Open Channels
After successfully logging in to your WowChat account, click on the Channels option from the left-hand navigation menu.
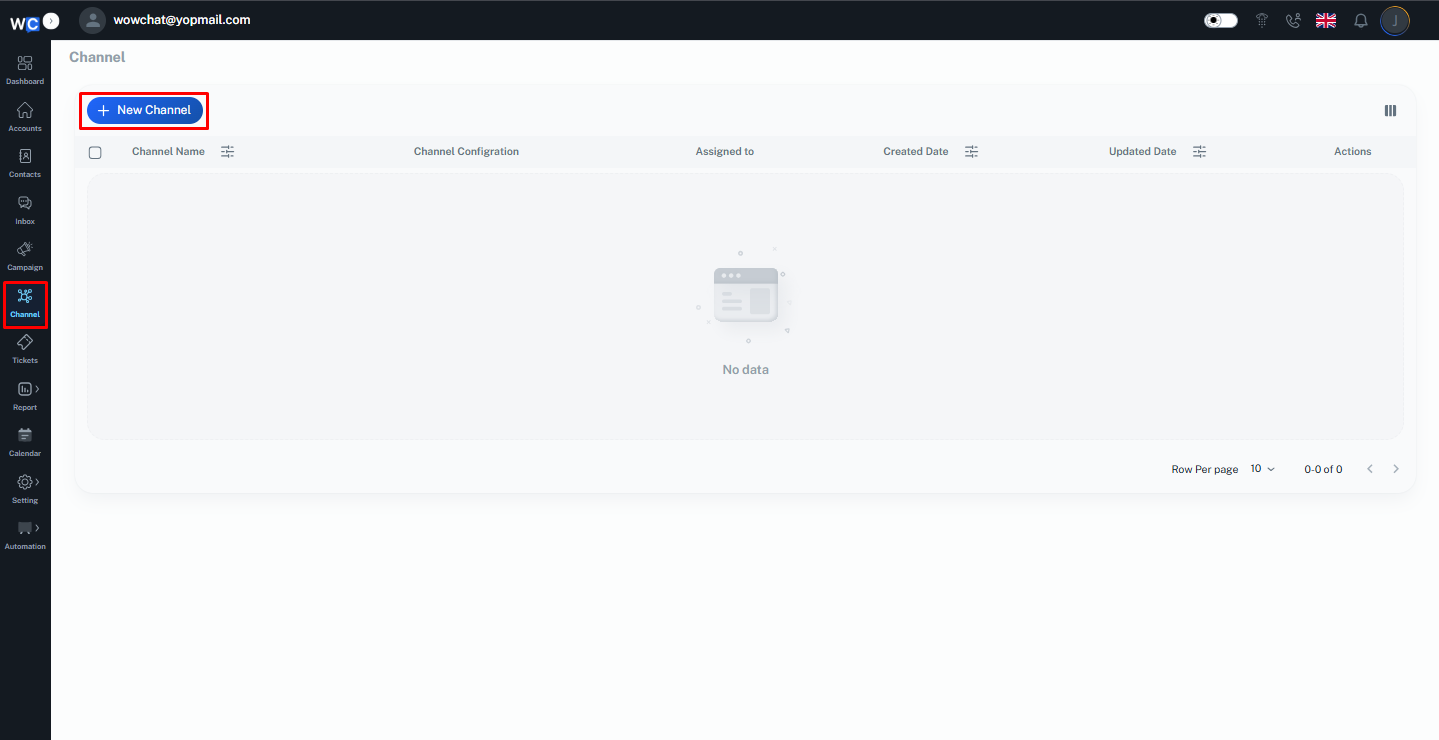
Step 2: Create a New Channel
Click the New Channel button to begin creating a new communication channel.
Step 3: Select Live Chat Channel
From the available channel types, select Live Chat Widget.

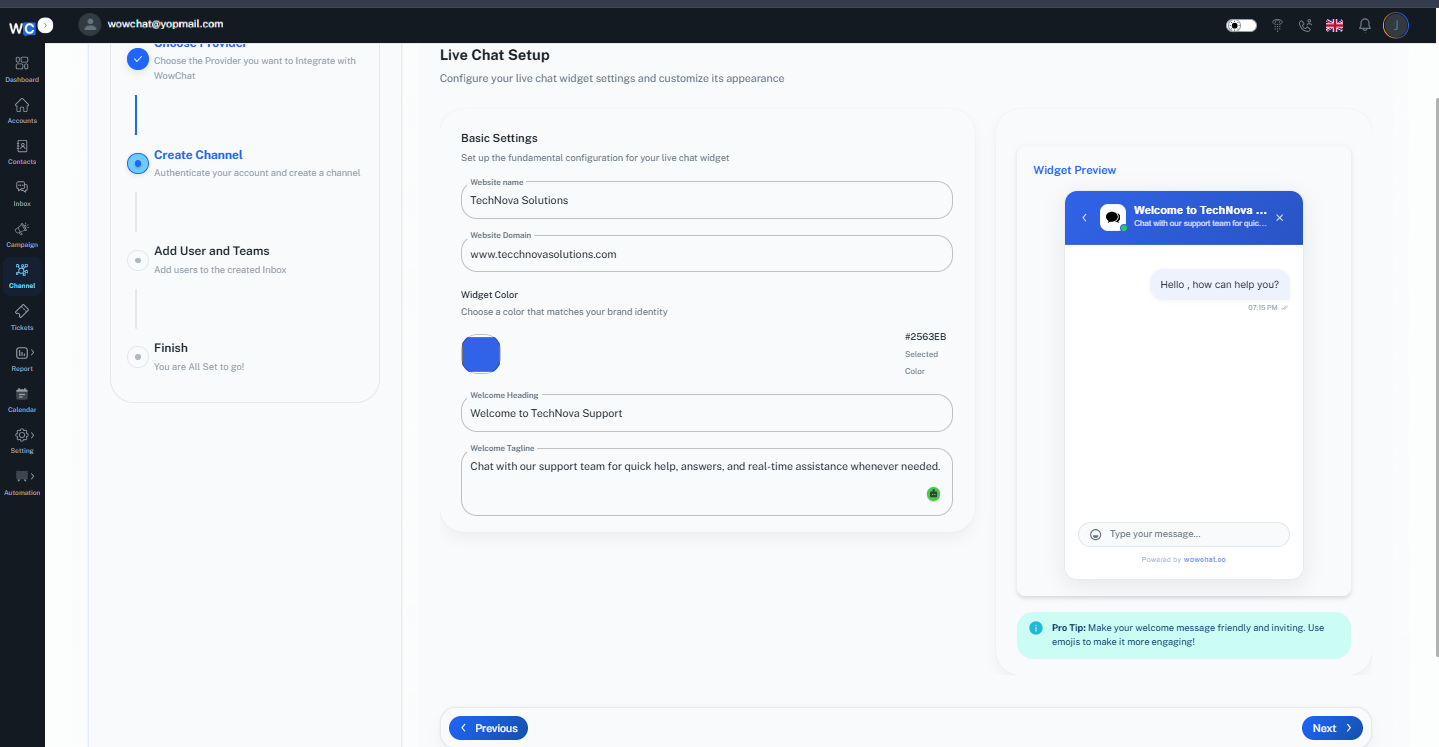
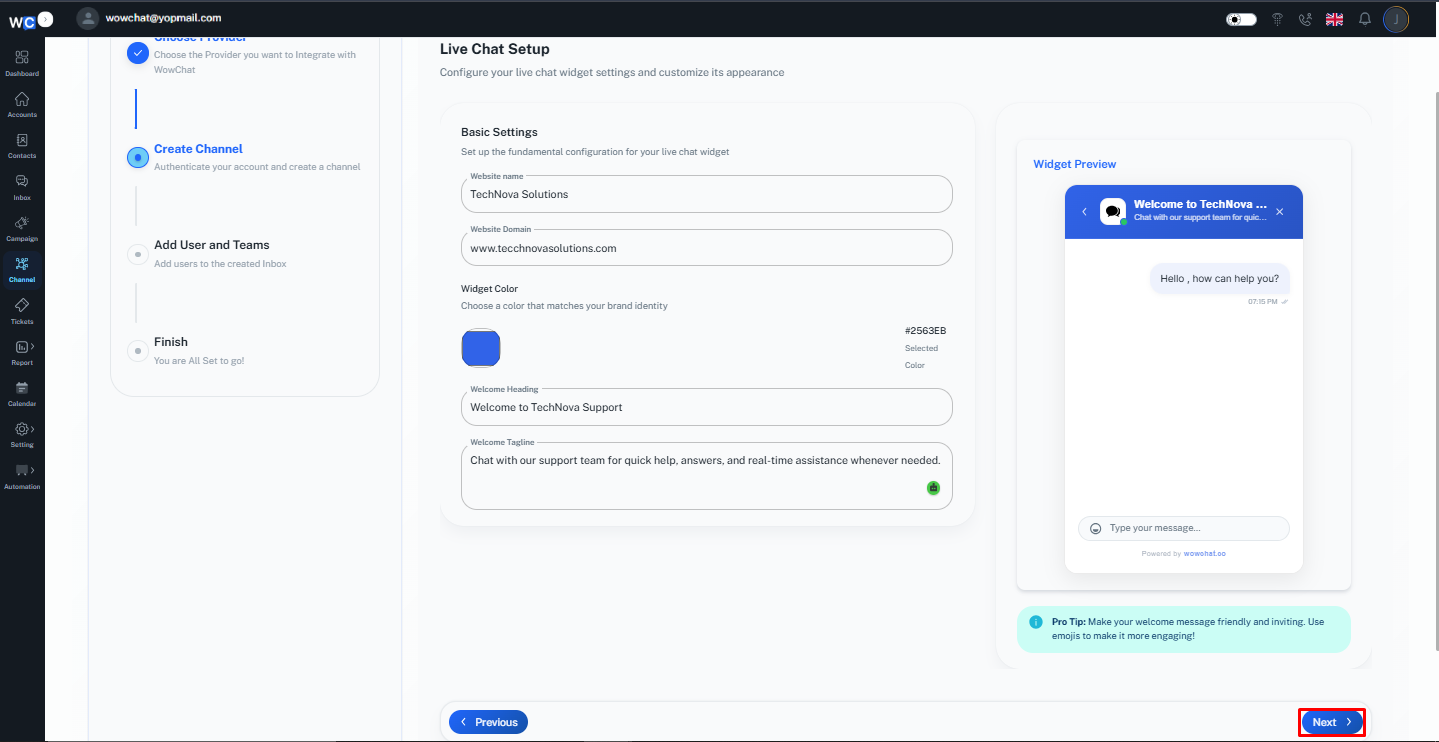
Step 4: Enter Live Chat Details
Provide the required widget information, such as:- Widget Name- Website Domain- Select Widget Color- Welcome Heading- Welcome TaglineThese details help identify the widget within your workspace.
Step 5: Click Next
After entering the required Live Chat details, click the Next button.
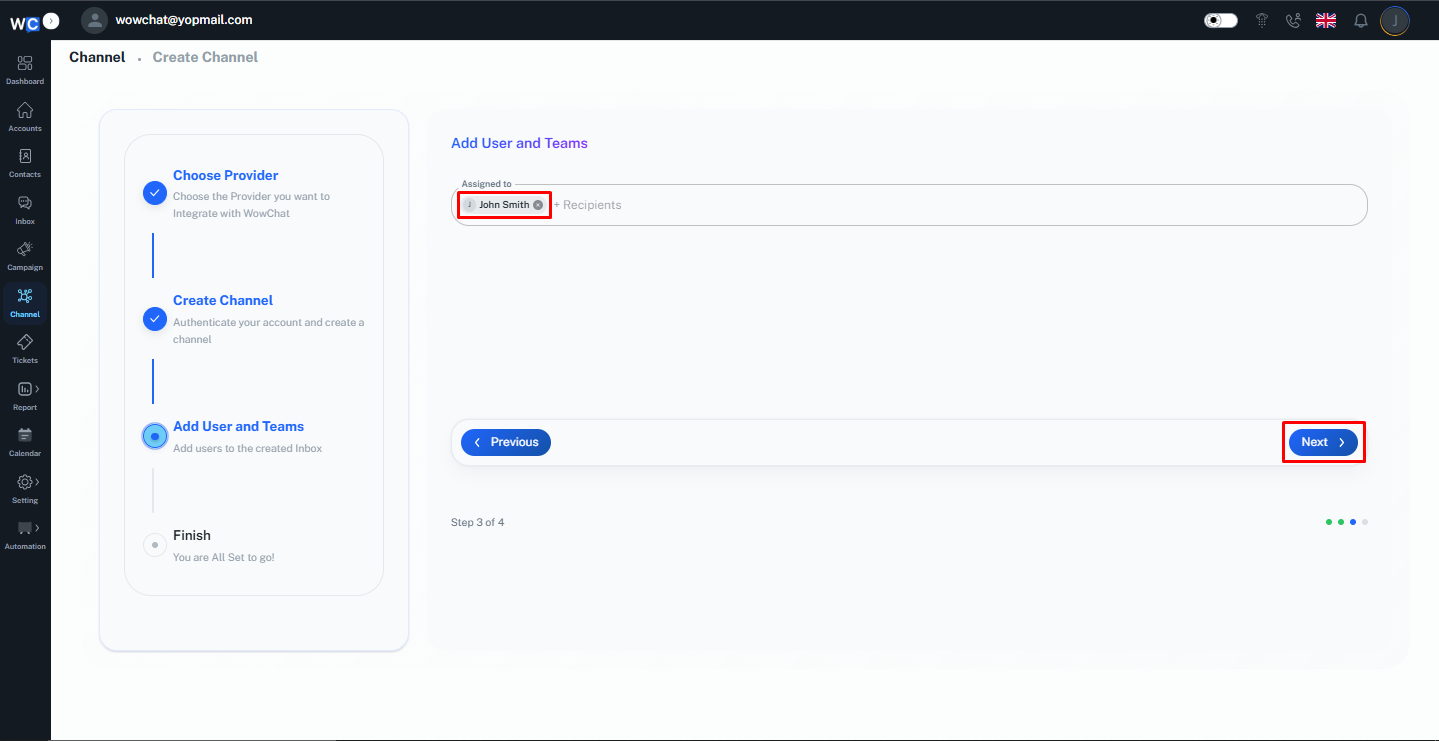
Step 6: Assign Channel to User
Select the user or users who should receive and manage incoming Live Chat conversations.
Step 7: Channel Created Successfully
The Live Chat Channel has now been created successfully.
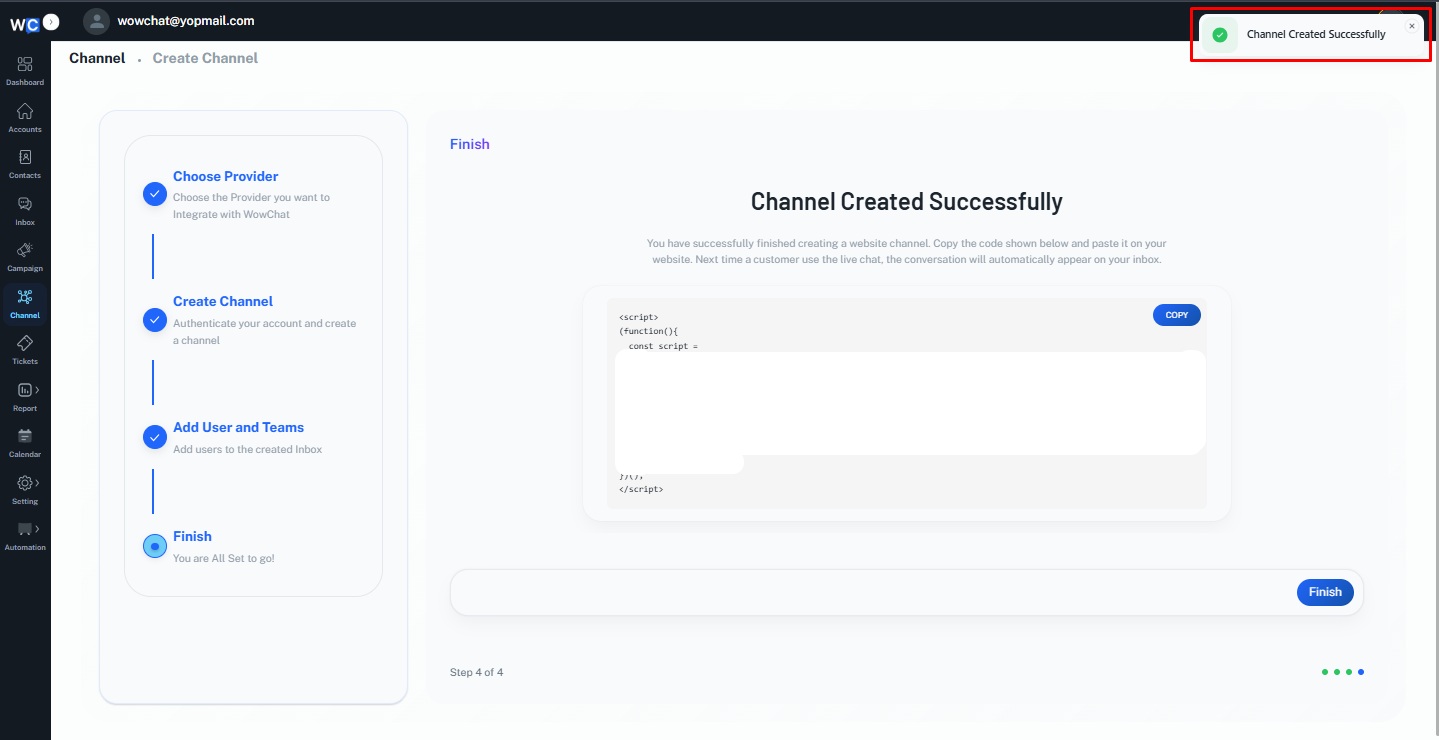
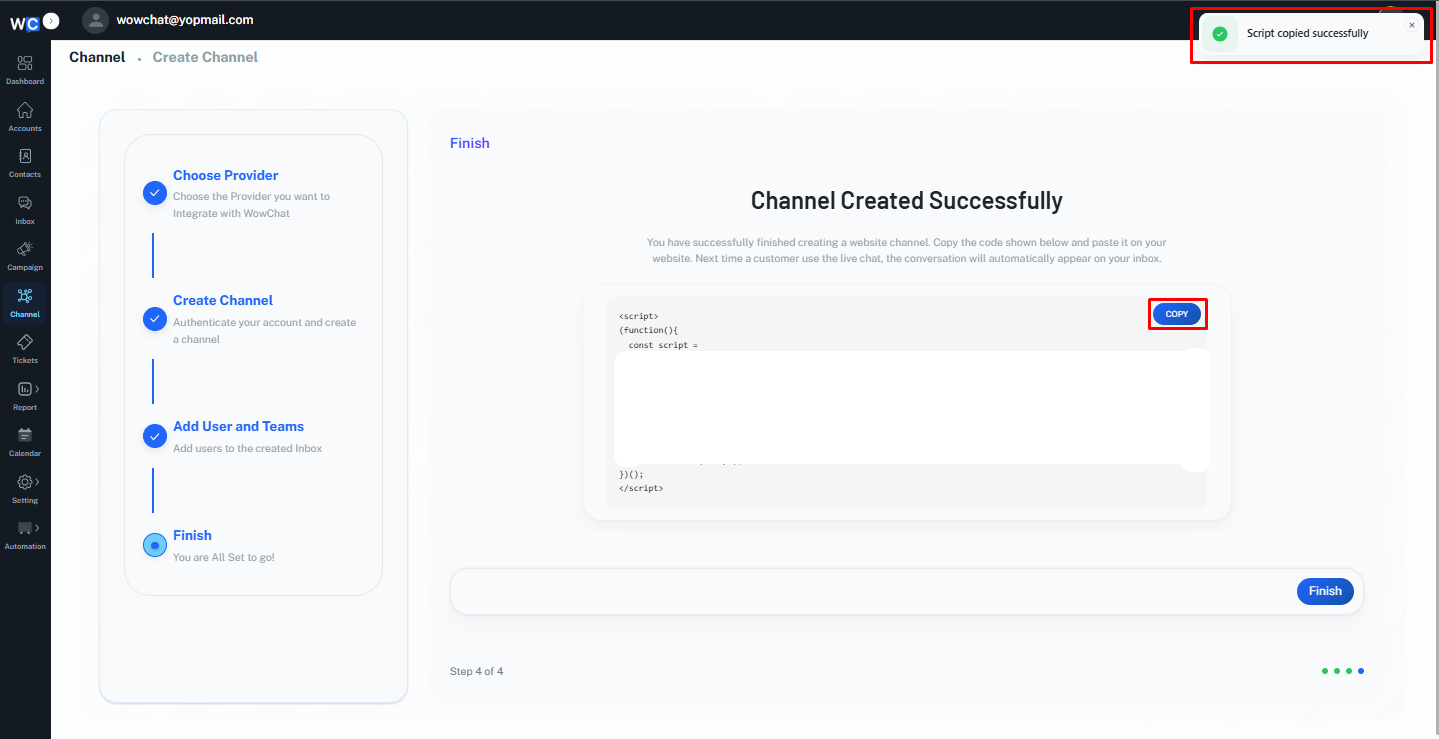
Step 8: Copy the Script Code
Copy the generated script code and add it to your website where you want the Live Chat Widget to appear.
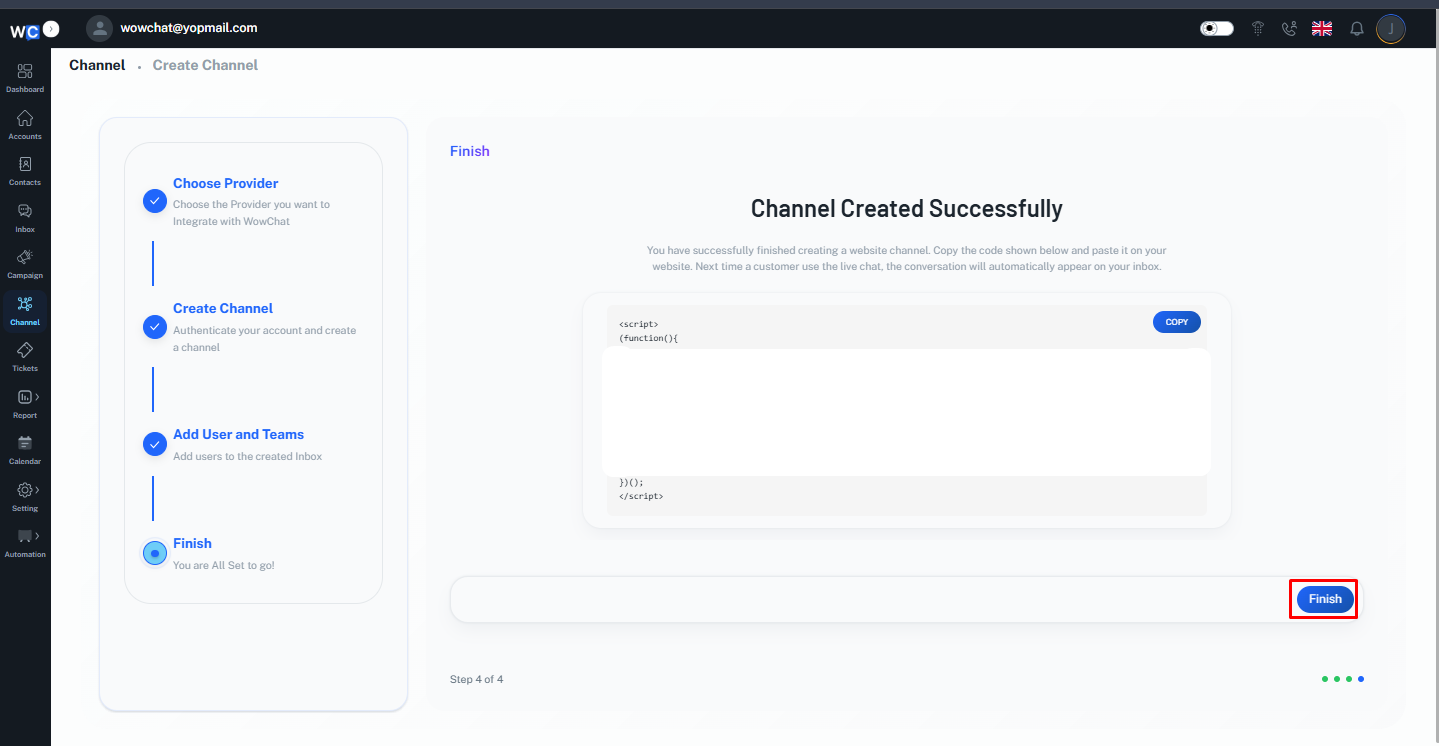
Step 9: Click Finish
Click the Finish button to complete the Live Chat channel setup process.
How Live Chat Conversations Work
Once the widget is installed:
- A visitor opens your website.
- The visitor starts a chat using the Live Chat Widget.
- The conversation is automatically created in WowChat.
- Assigned users or teams receive the message.
- Agents can respond directly from the Unified Inbox.
- Conversation history is stored for future reference.
This ensures that website visitors can communicate with your team quickly and efficiently.
Benefits of the Live Chat Widget
Using the WowChat Live Chat Widget helps your organization:
- Engage visitors in real time
- Improve customer support
- Increase lead generation opportunities
- Reduce response times
- Centralize website conversations
- Improve customer satisfaction
Frequently Asked Questions (FAQ)
The Live Chat Widget is a website chat tool that allows visitors to communicate with your team directly from your website.