Creating an Automation Workflow
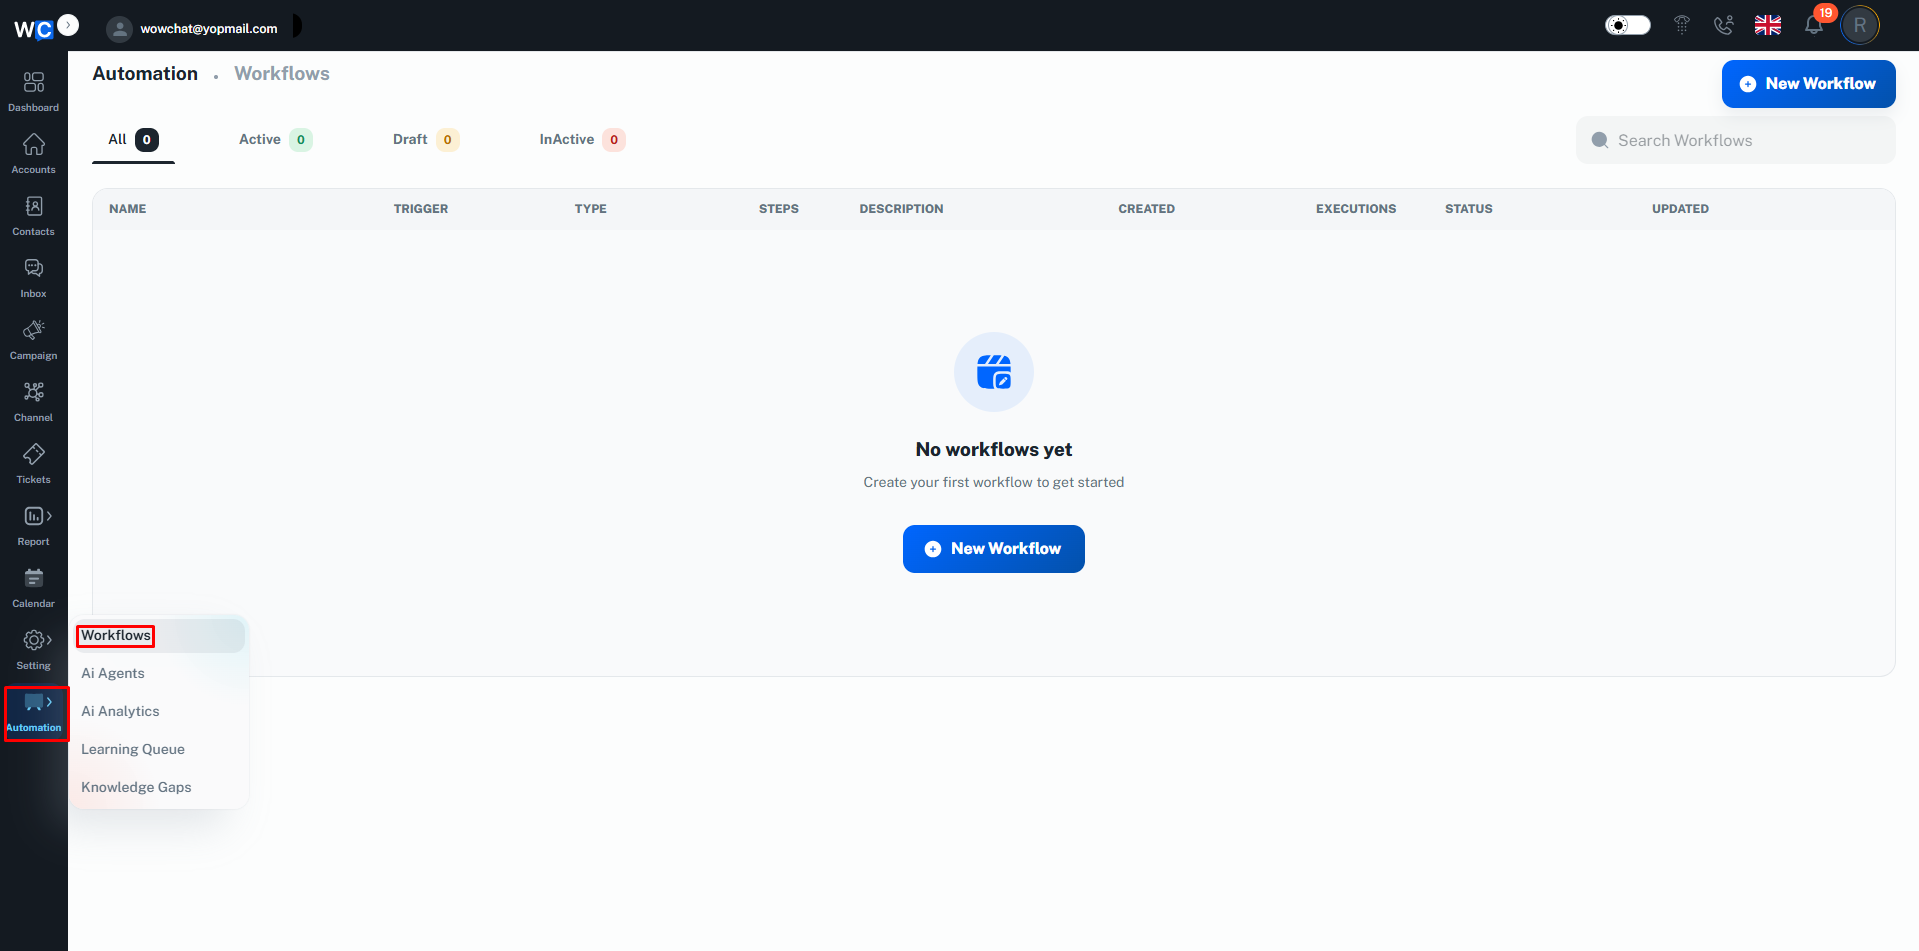
Step 1: Open Automation
After successfully logging in to your WowChat account, click on the Automation option from the left-hand navigation menu.
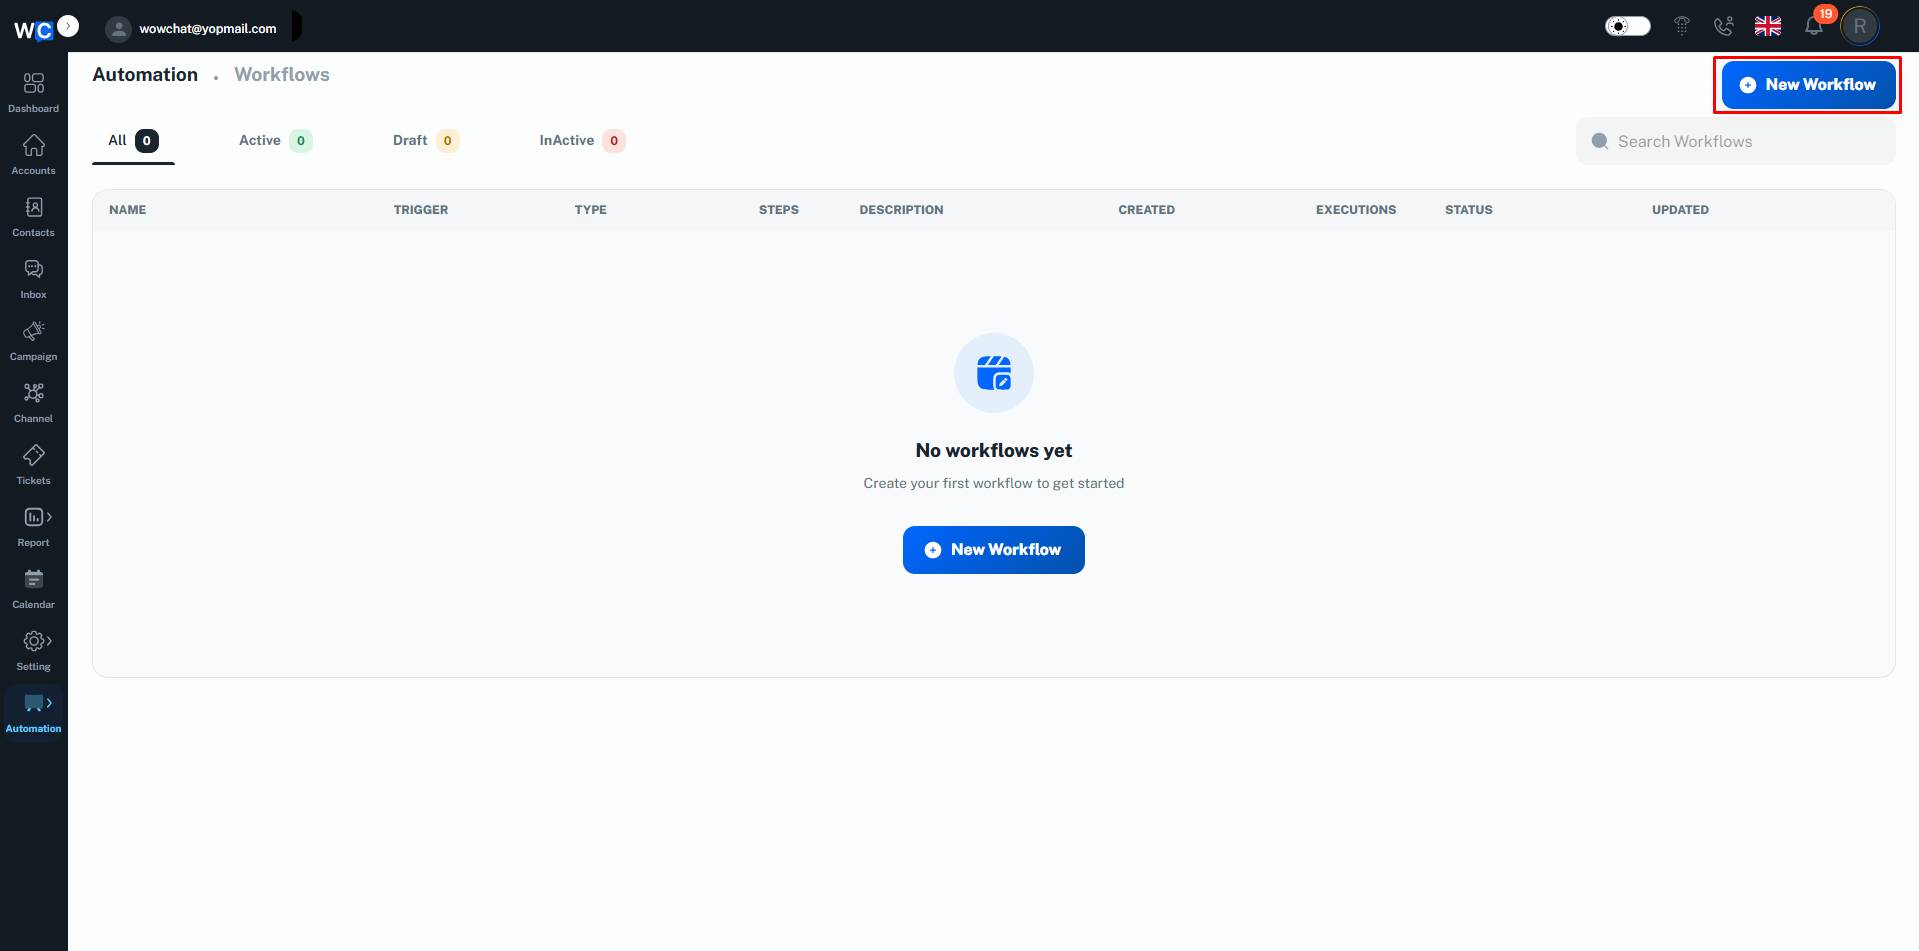
Step 2: Create a New Workflow
Click the New WorkFlow button located in the top-right corner.
Step 3: Enter Workflow Name
Enter a name for your workflow and begin configuring the workflow builder.
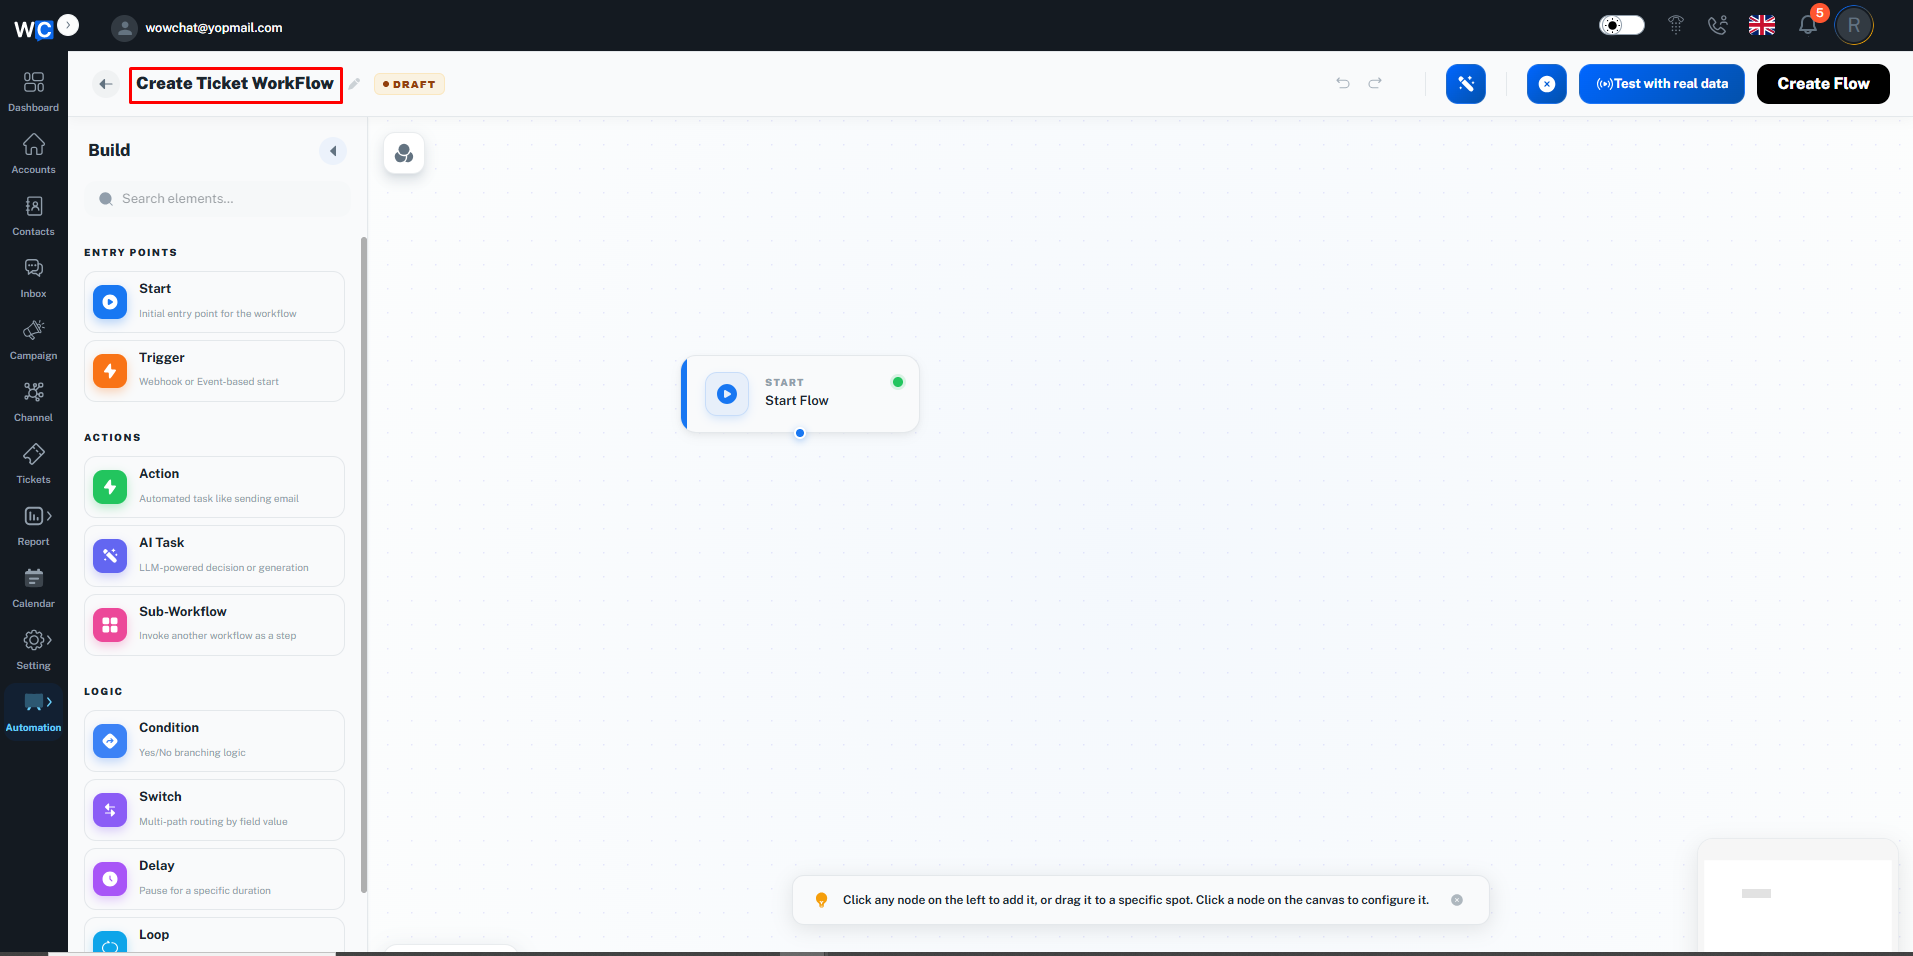
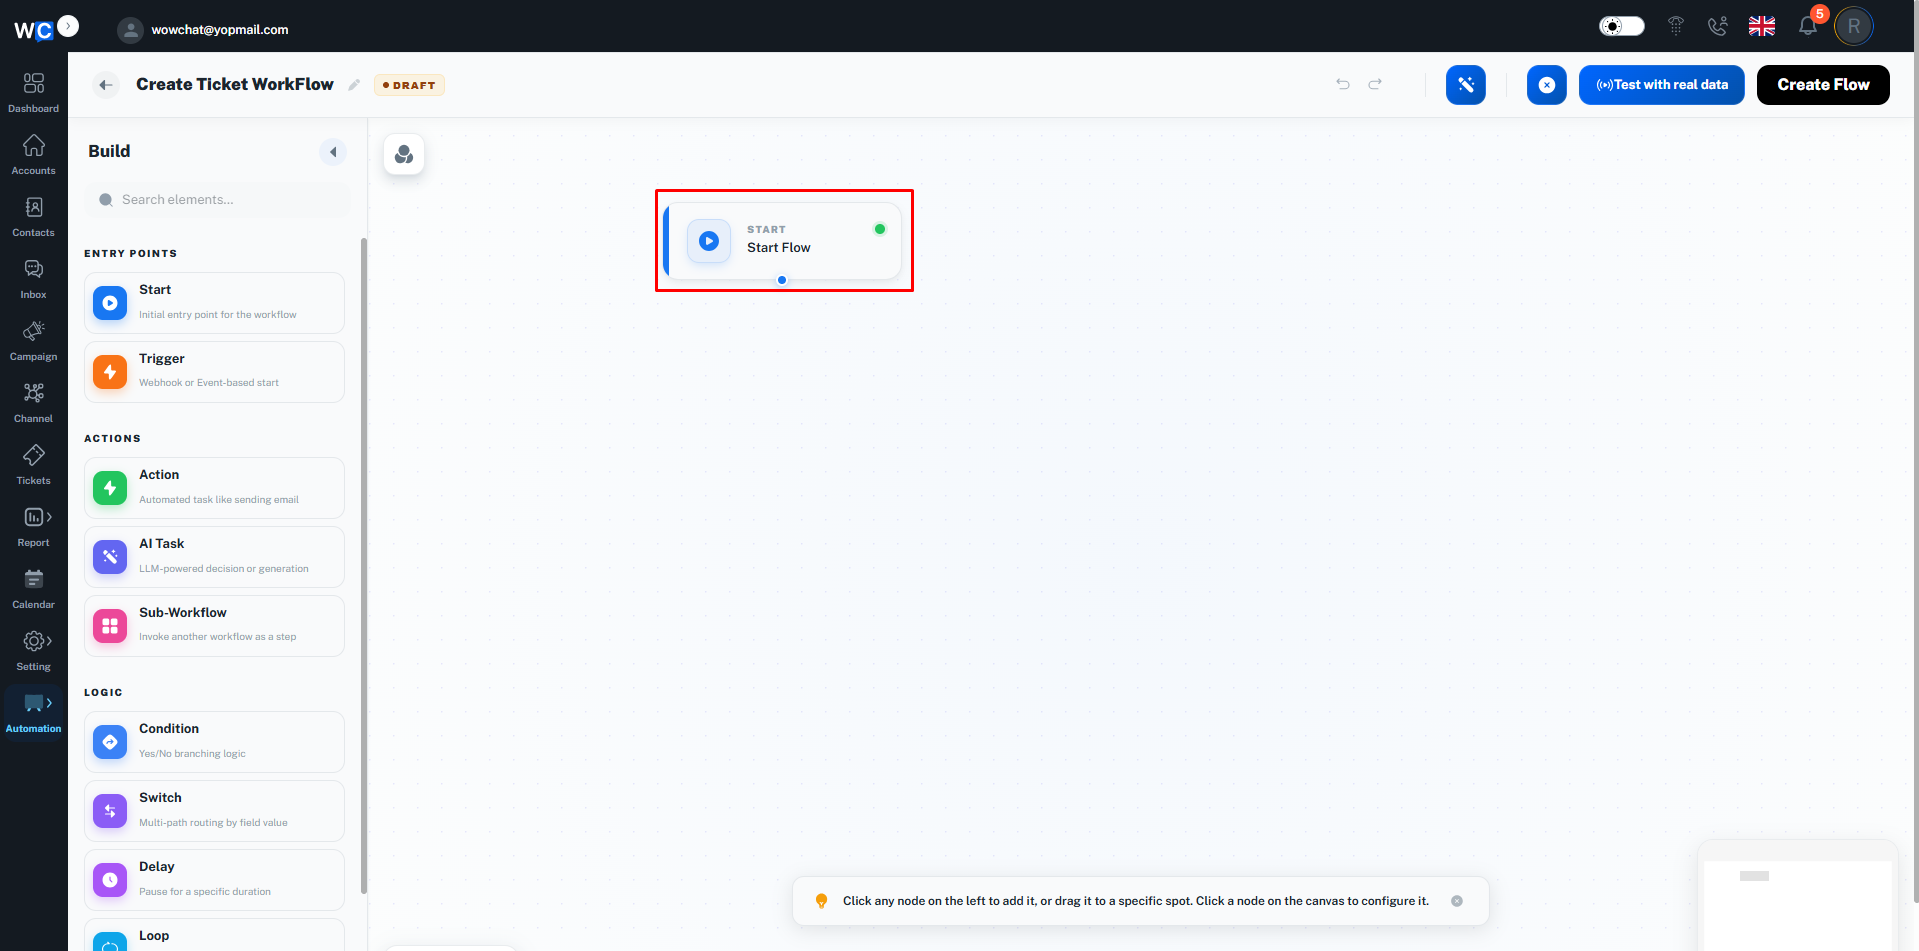
Step 4: Configure the Start Node
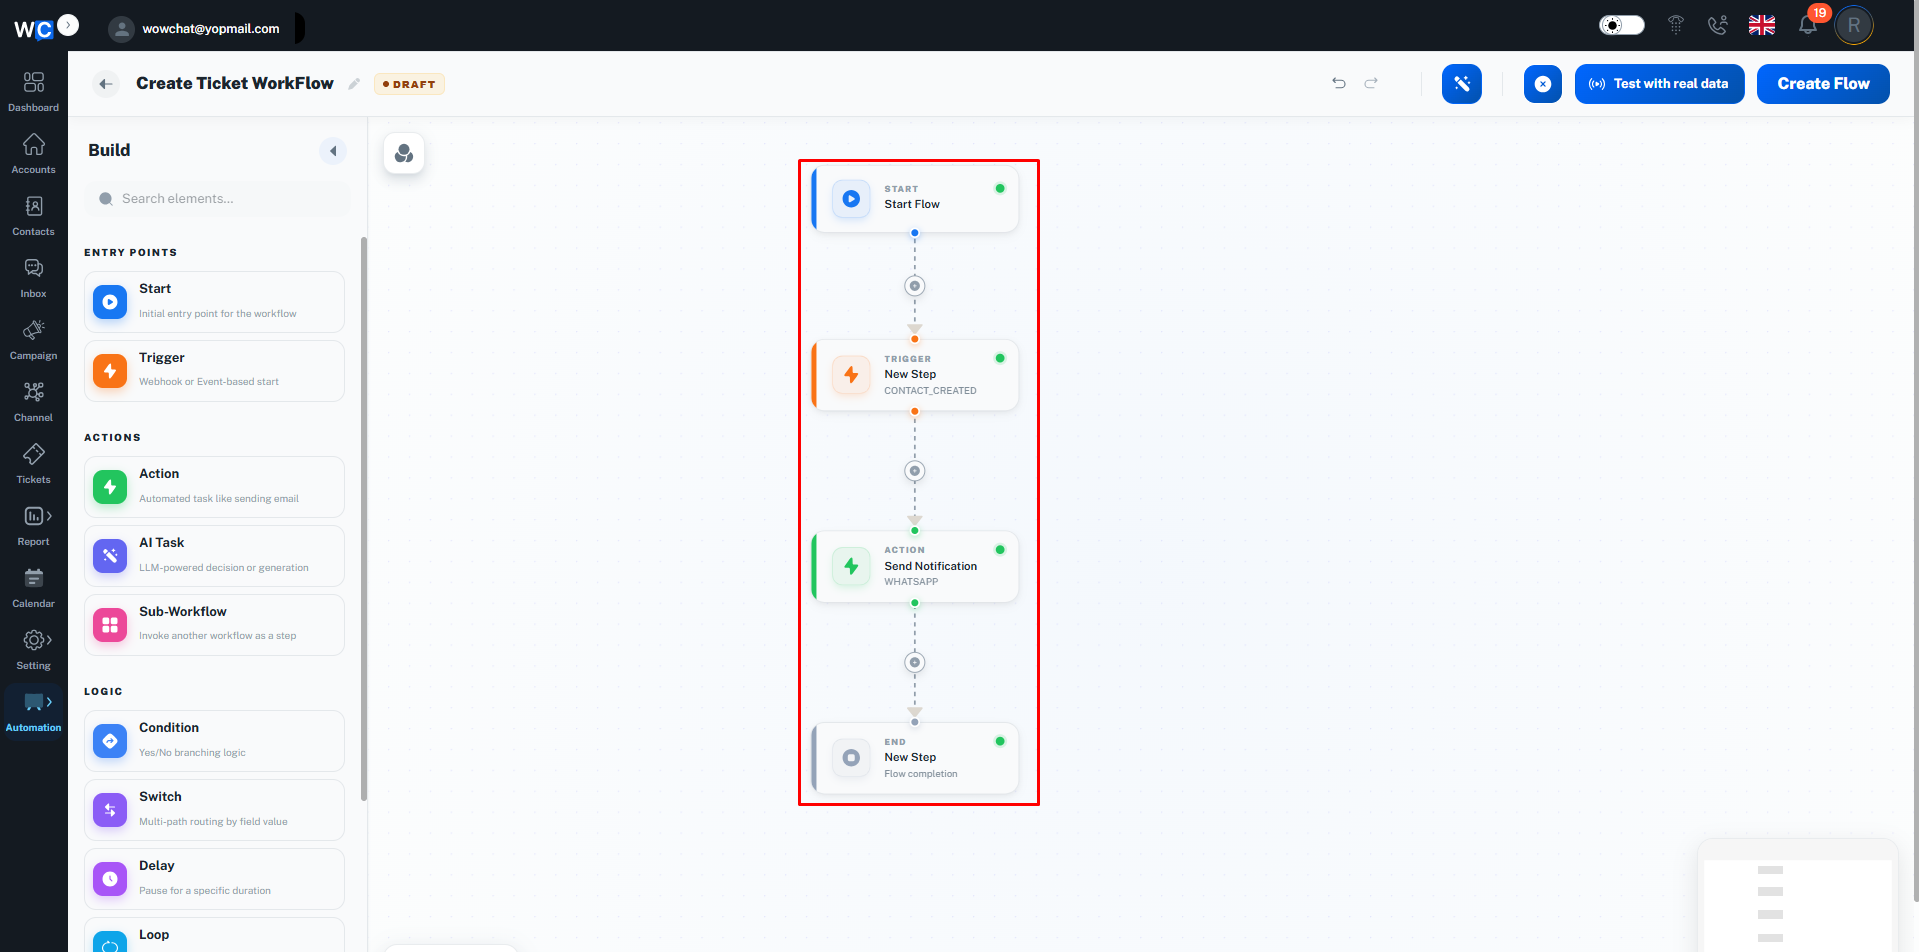
The Start node is the entry point of every workflow.This node determines where the workflow begins and how the automation process is initiated.
Workflow Nodes
Trigger Node
The Trigger node starts a workflow when a specific event occurs.Examples include:
- New Conversation Created
- New Message Received
- Contact Created
- Contact Updated
- Ticket Created

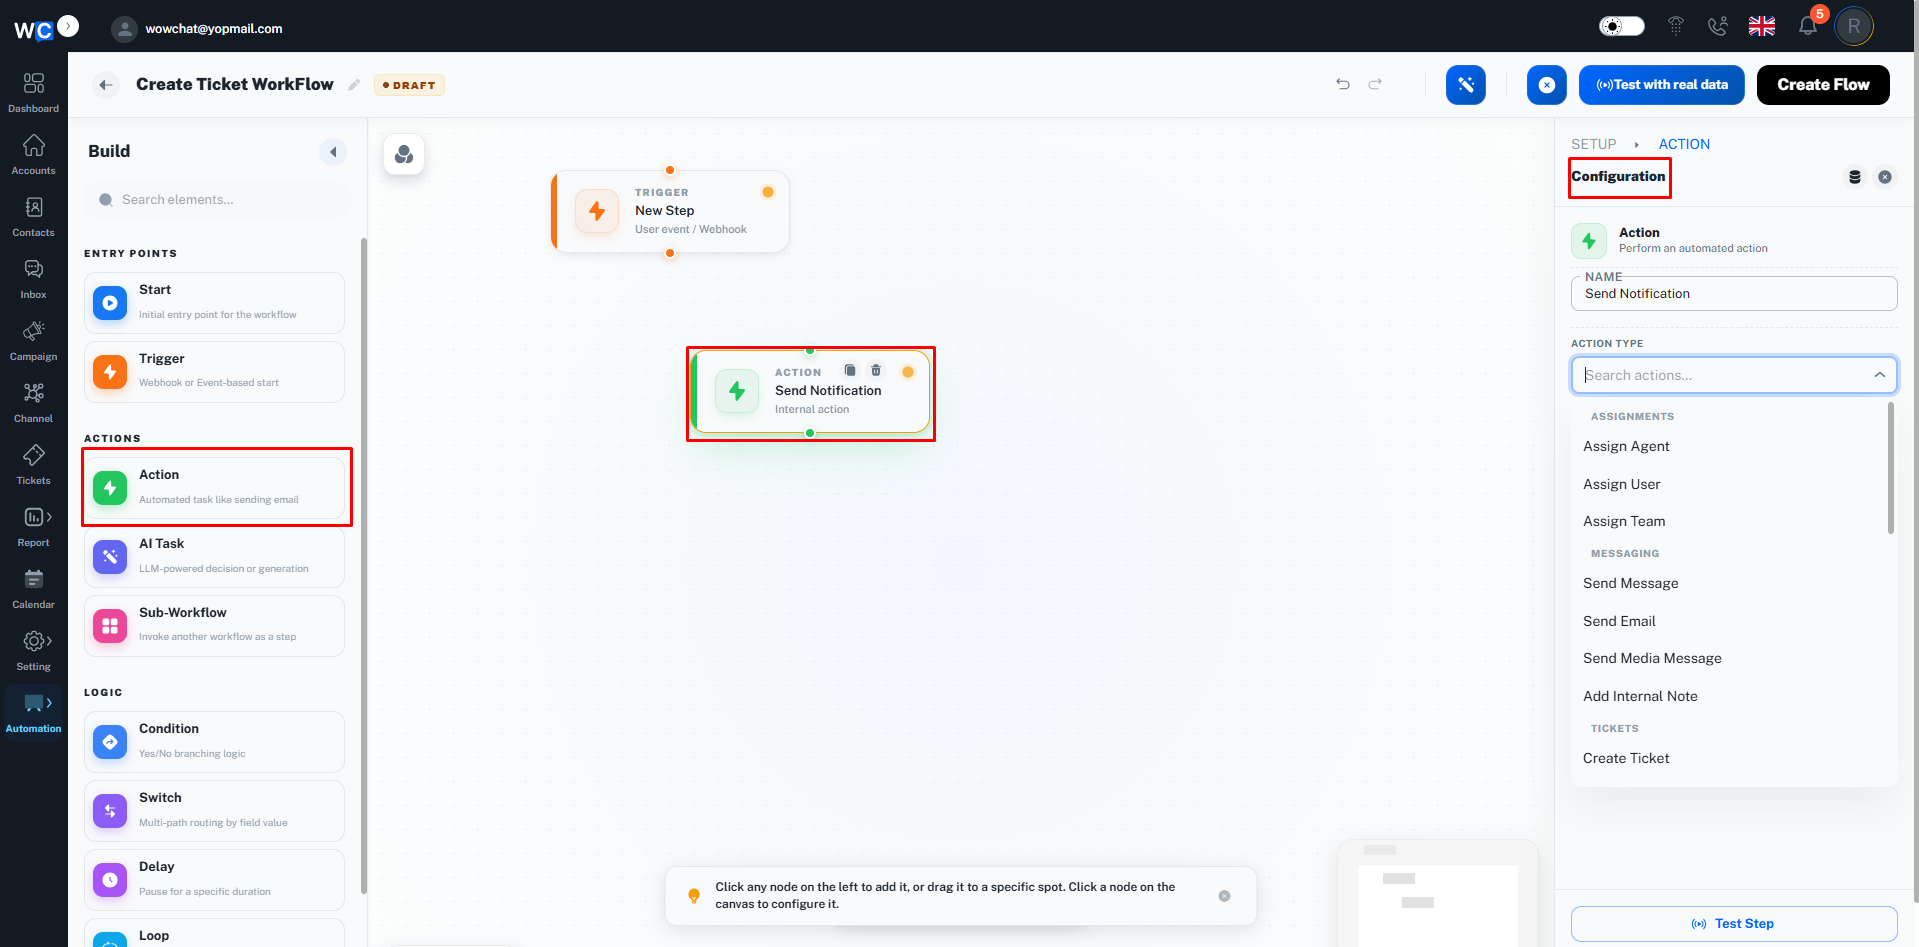
Action Node
The Action node performs tasks automatically.Examples include:
- Send Message
- Send Email
- Assign User
- Assign Team
- Update Status
- Add Tags
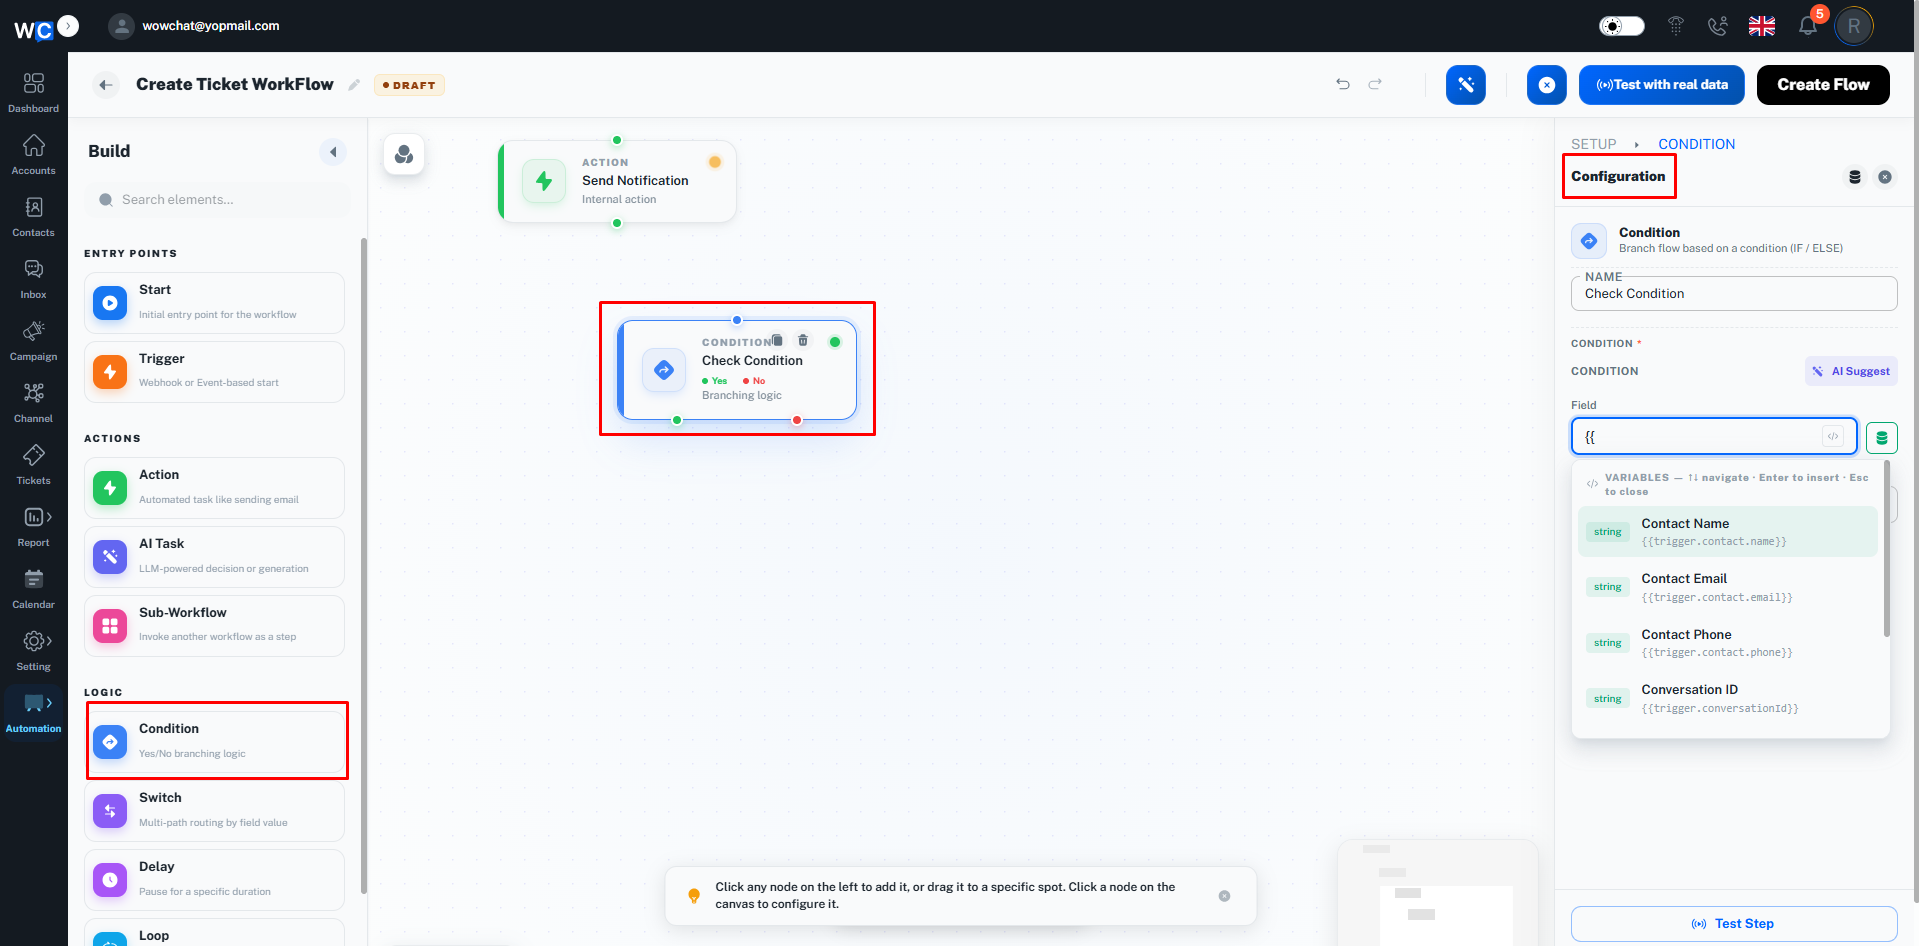
Condition Node
The Condition node creates Yes/No branches based on defined criteria.Examples include:
- Channel equals WhatsApp
- Status equals Open
- Customer Country equals India
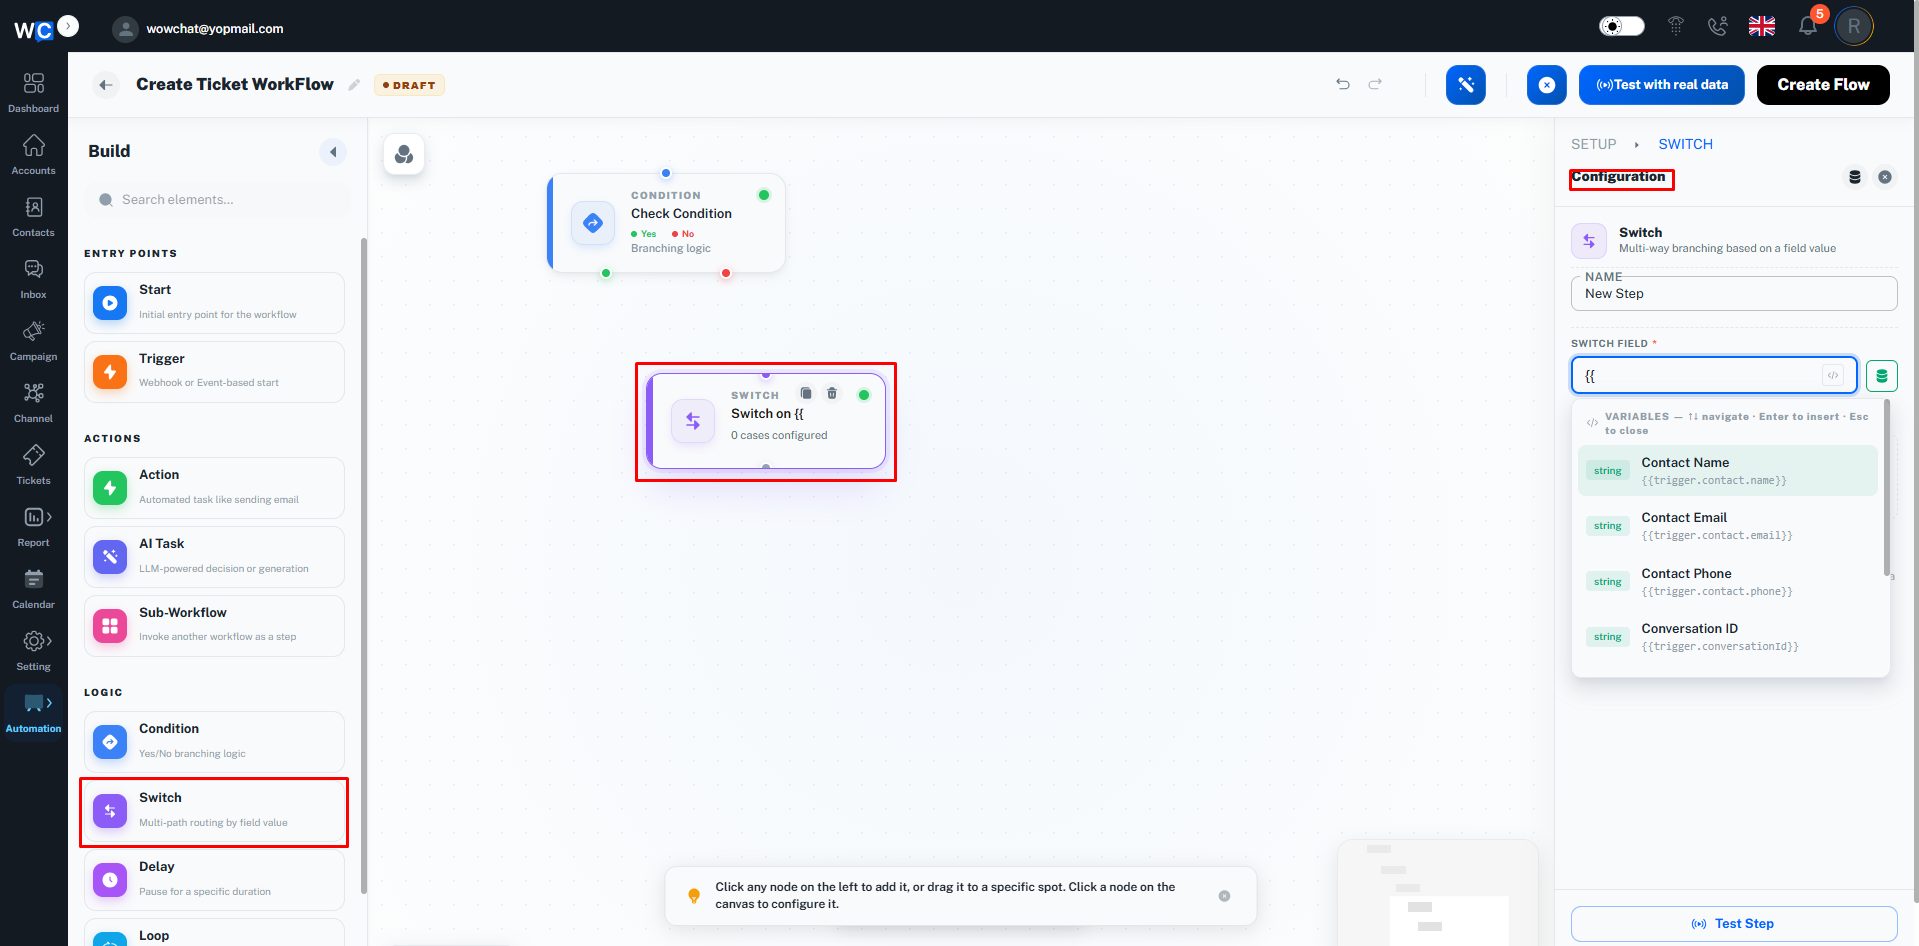
Switch Node
The Switch node creates multiple routing paths based on selected values.Examples include:
- Route by Channel
- Route by Team
- Route by Priority
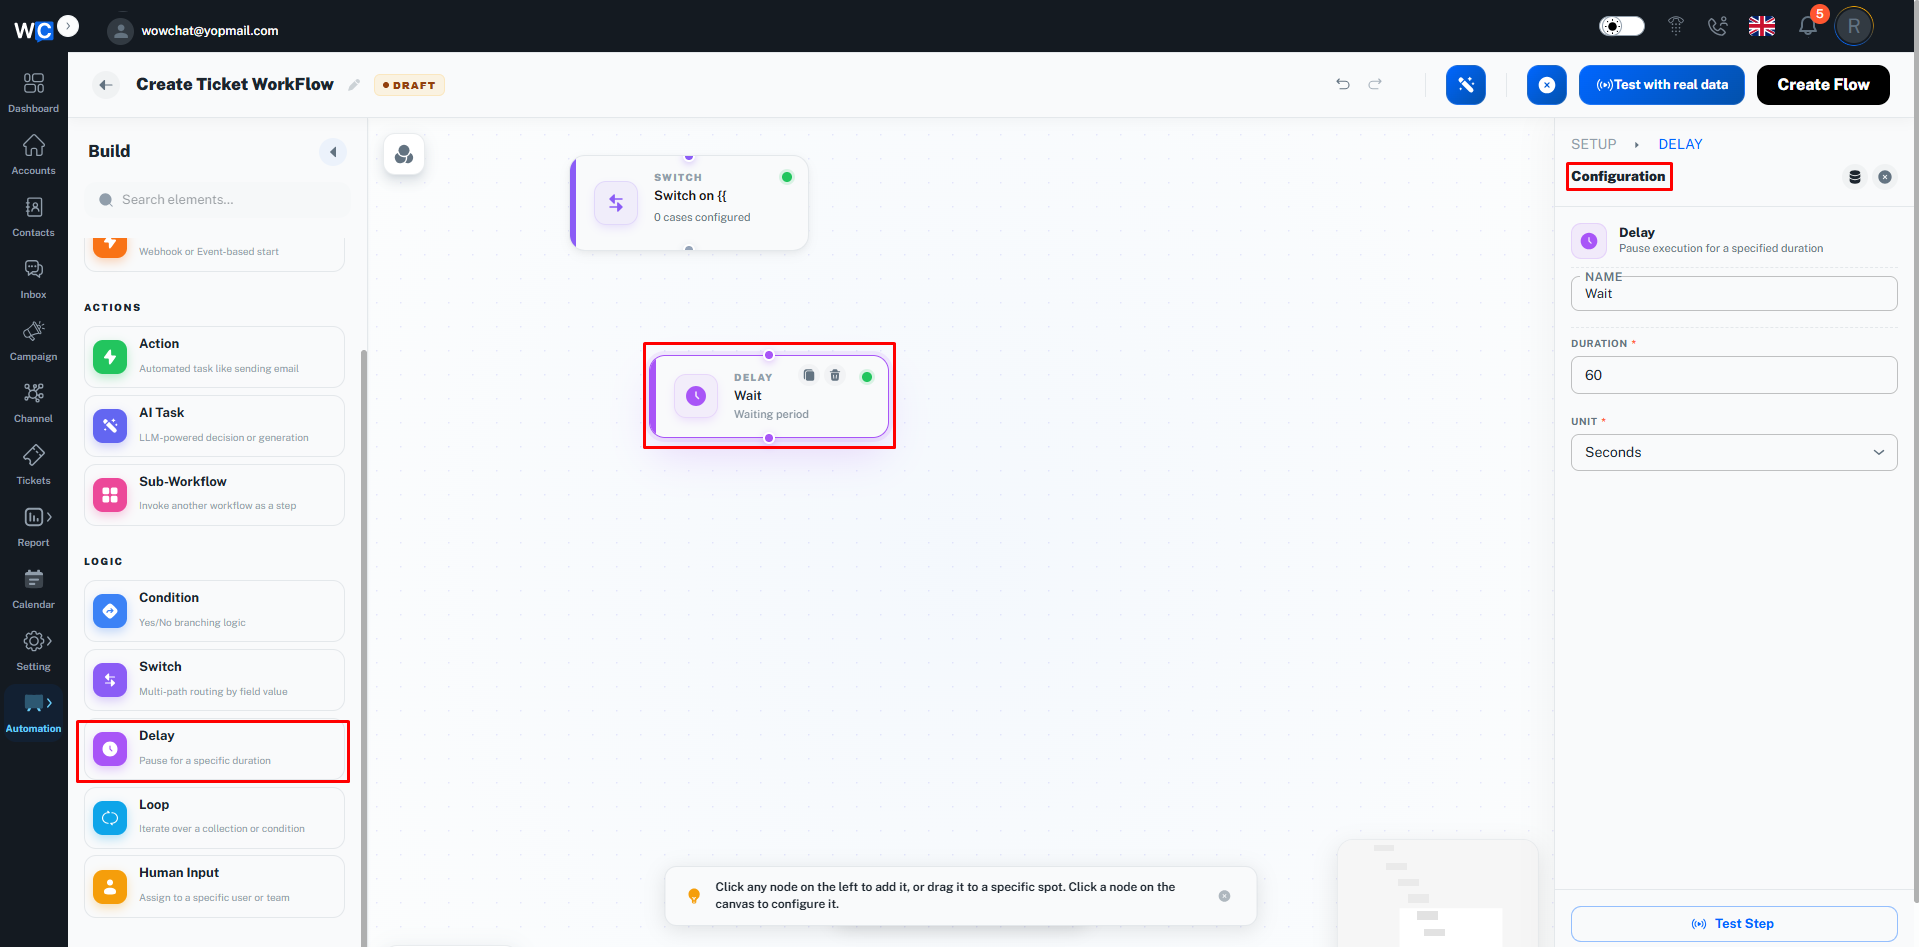
Delay Node
The Delay node pauses workflow execution for a specified period.Examples include:
- 5 Minutes
- 1 Hour
- 24 Hours
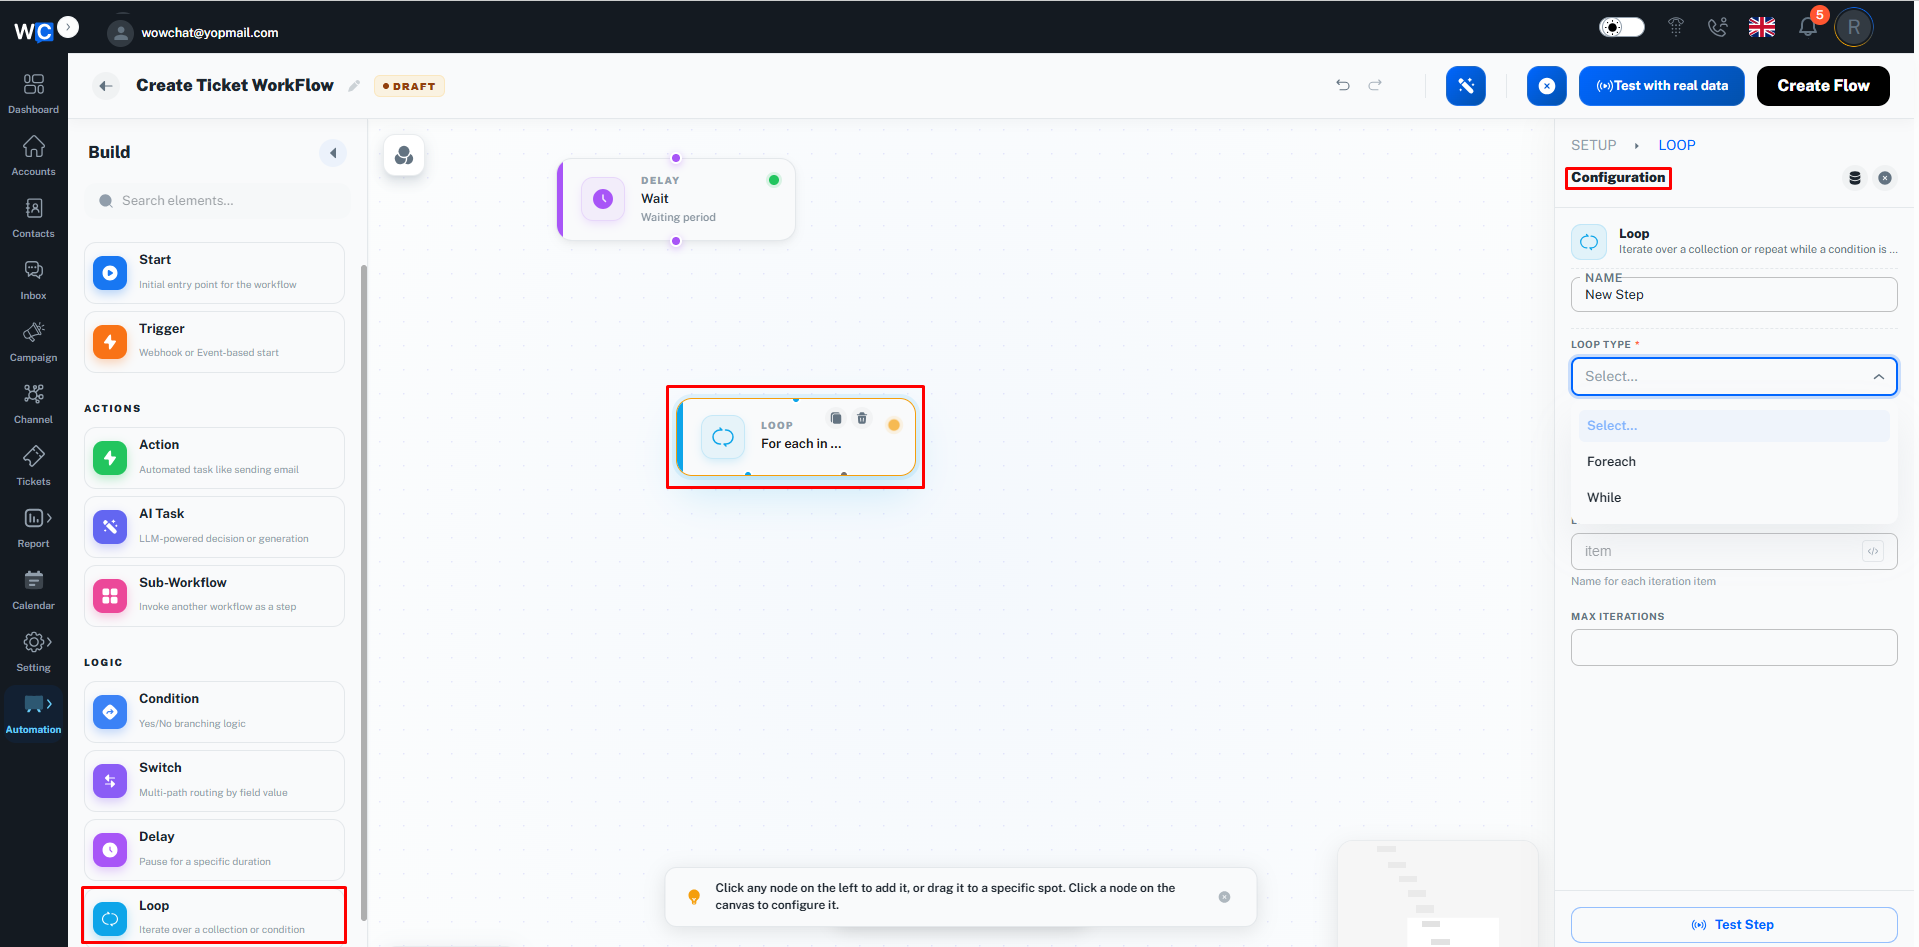
Loop Node
The Loop node repeats actions until a condition is met or all records have been processed.
Step 5: Connect Workflow Nodes
Drag and drop the required nodes from the left panel and connect them to build your workflow logic.
Step 6: Test Workflow
Click the Test with Real Data button to validate your workflow before publishing.

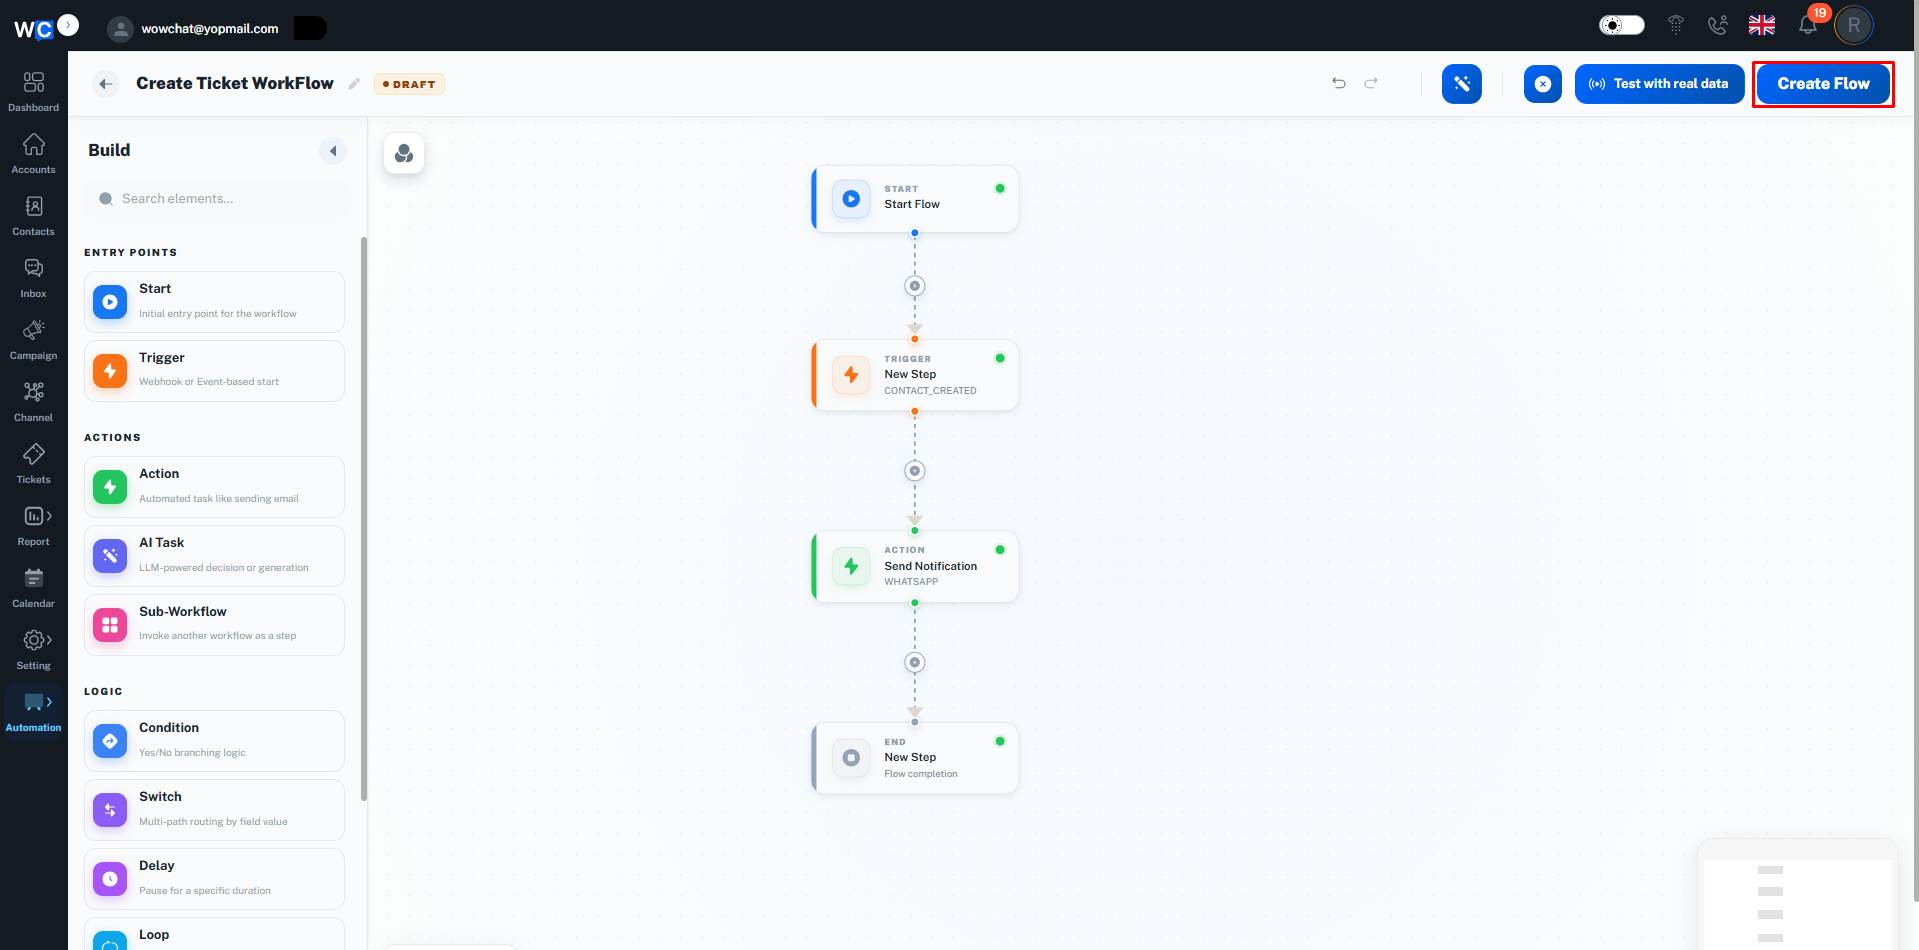
Step 7: Publish Workflow
Once the workflow has been configured successfully, click the Create Flow button.
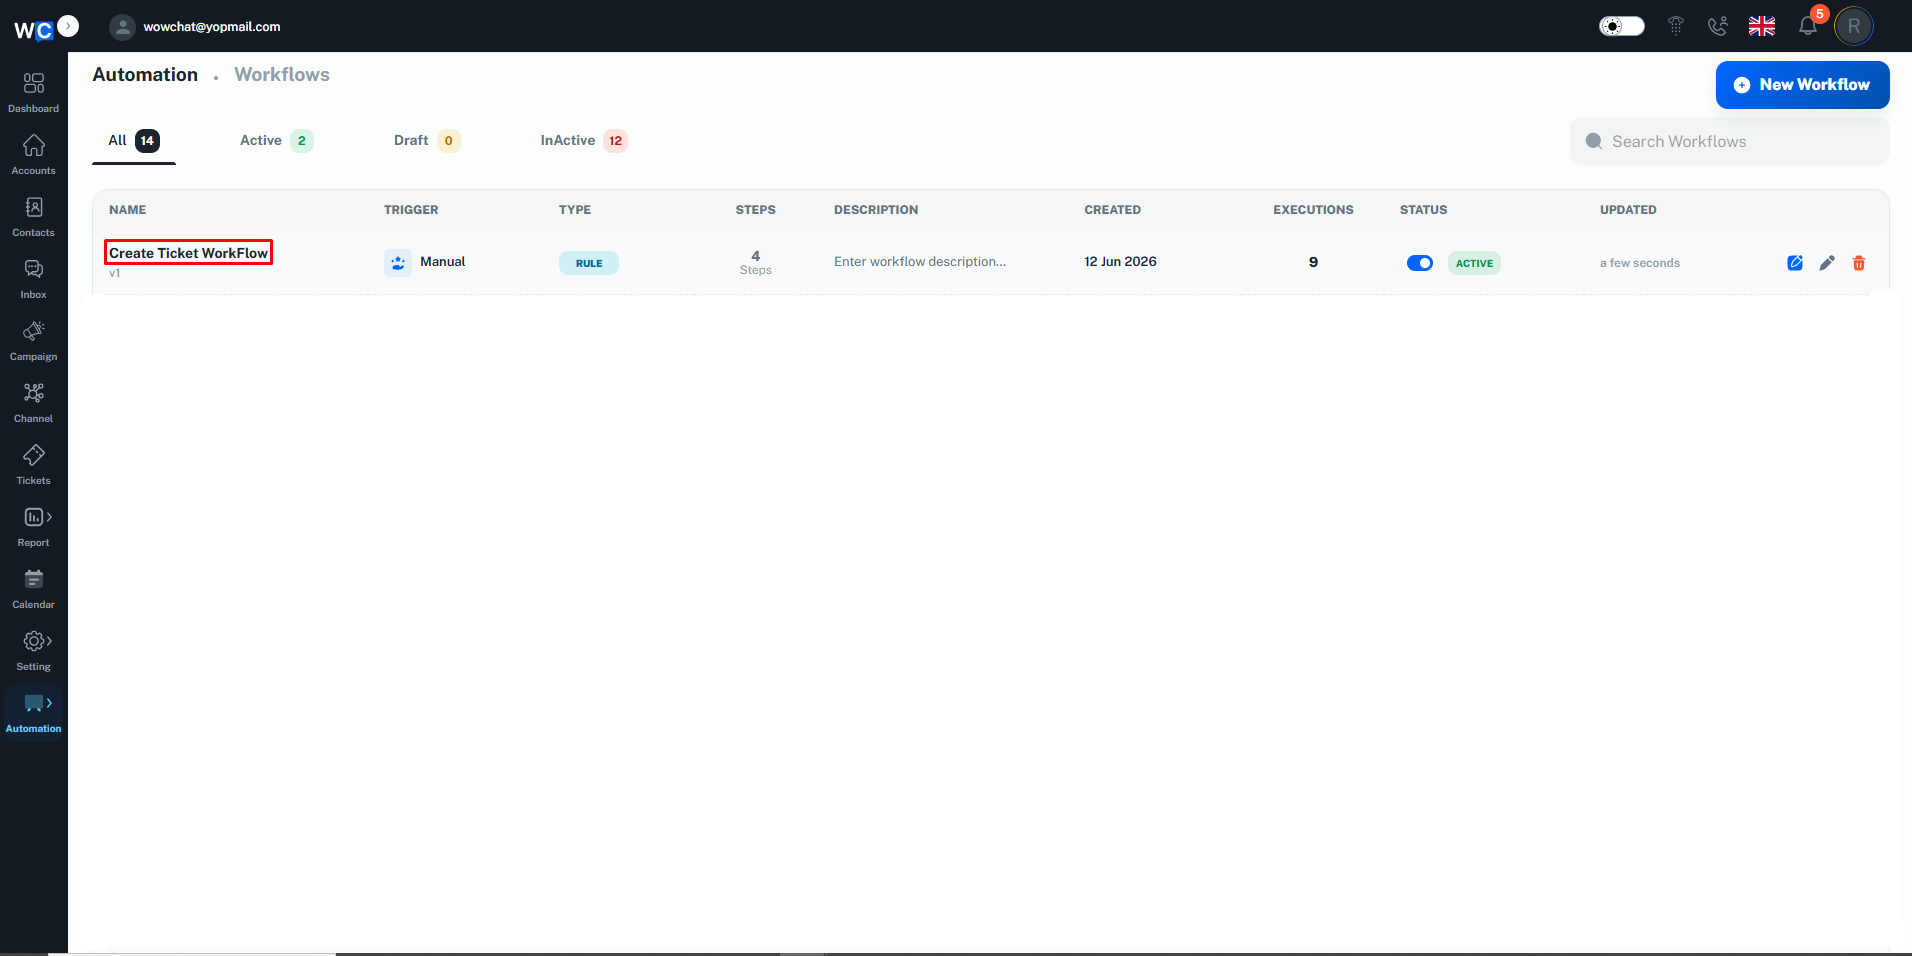
Step 8: Workflow Created Successfully
Your Automation Workflow has been created successfully and is now active.The workflow will automatically execute whenever the configured trigger conditions are met.
Frequently Asked Questions (FAQ)
A Trigger is the event that starts a workflow.